Outside pier: Lat=36 59 33.95, Long=-121 55 26.49, elev 211 ft WGS84 on Google
Earth
12" dome: Lat=36 59' 34.03", Long= -121 55 26.95, elev 222 ft WGS84 on Google Earth
Site Tests of Astronomical Seeing , Specs for Hyperstar setup , Flocking tube , LX200 Classic repair , Flip Mirror Measurements
Teaching Modern Professional Observational Astronomy: The design of Cabrillo College Observatory was done by Department Chair Rick Nolthenius, and the guiding principle was to teach students how to use a professional observatory laid out as modern research observatories are. This means a "warm room" separate from the dome, with computers which control the telescope, the telescope mount system, the imaging system at the focal point of the telescope, and sensors which read the temperature and conditions within the dome housing the telescope. An exhaust system in the dome insures ambient temperature air flows across the optical path and the relatively elevated position of the telescope both act to minimize air turbulence along the incoming light path and thus help insure sharp, crisp astronomical images. Modern software allows students to transparently and intuitively operate the telescope, pointing it by computer mouse on sky projection software to enalbe it to move across the sky, and download and process high signal-to-noise images of astronomical targets for student study projects.
How to Find the Observatory:
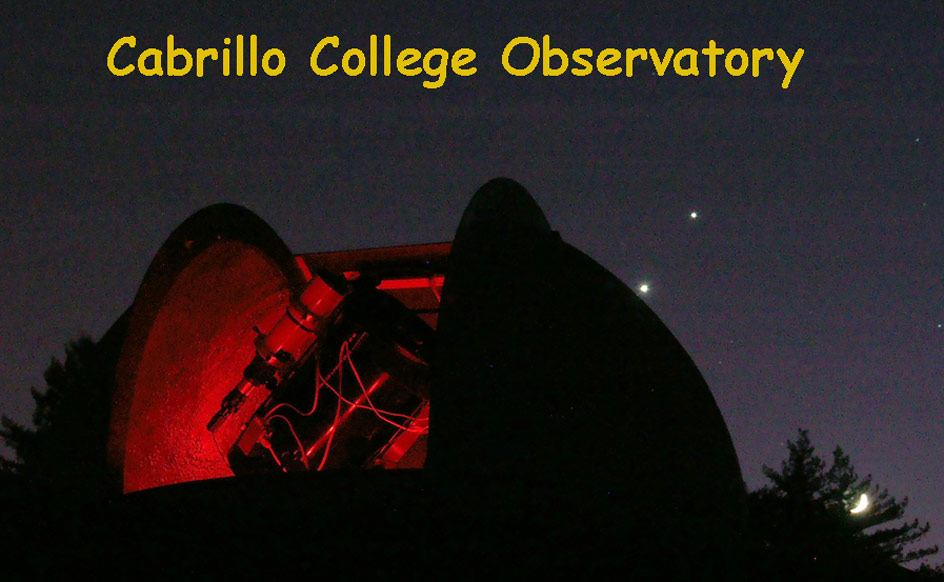
Cabrillo College
Observatory is located at the end of "Well Road", along Porter Gulch
Creek at the extreme northwest corner of campus..
Well Rd is the inconspicuous one-lane dirt road leading through the eucalyptus
grove, off Soquel Drive immediately east of Porter Gulch Road and next to the
western entrance to the upper campus, shown on the photographs here. At right
is the Google-Earth view of the Cabrillo Campus 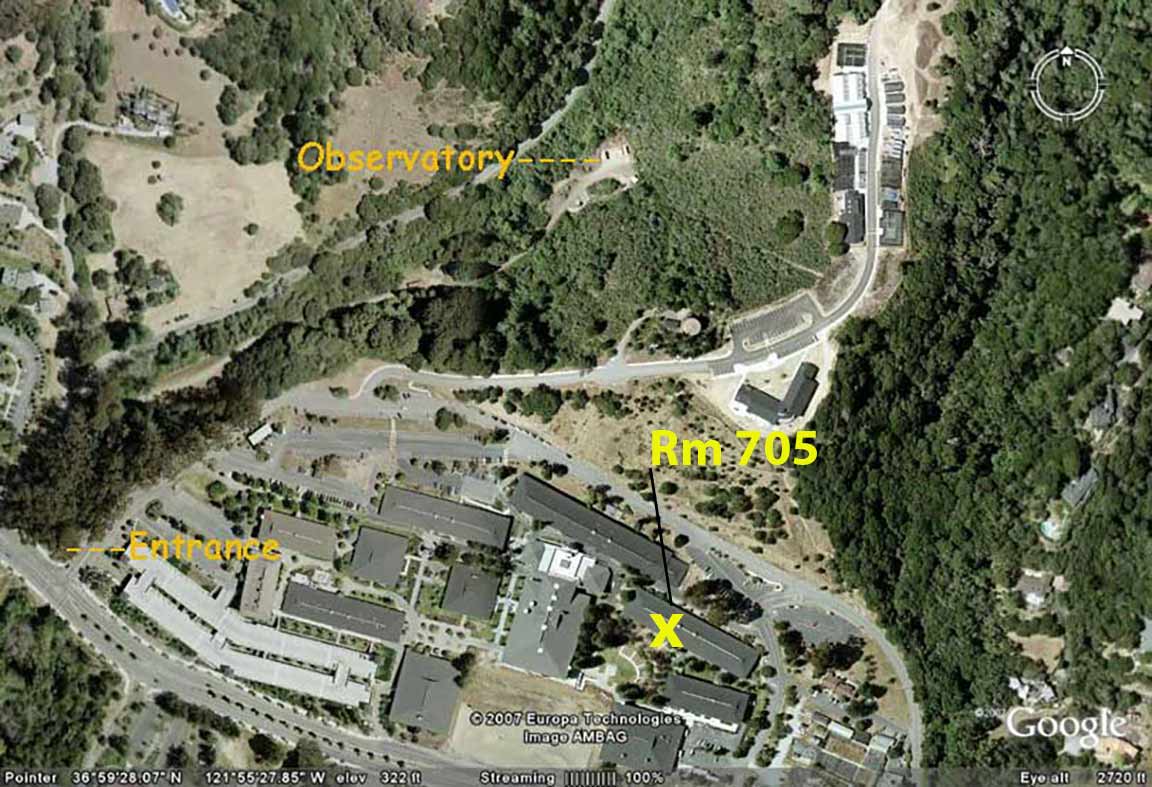 with the observatory and entrance
road intersection with Soquel Drive labelled. The entrance looks like a driveway, not a full-fledged road. At left, I've shown how the dirt road to the observatory traces beneath the trees with red "x"'s. Again, do NOT drive up paved Porter Gulch Rd - you won't find the observatory that way!
with the observatory and entrance
road intersection with Soquel Drive labelled. The entrance looks like a driveway, not a full-fledged road. At left, I've shown how the dirt road to the observatory traces beneath the trees with red "x"'s. Again, do NOT drive up paved Porter Gulch Rd - you won't find the observatory that way!  While this site is
astronomically not as good as our previous location on the hilltop above campus,
it has the advantage of no line-of-sight to any lights whatsoever, and is isolated
from the rest of the campus. It has good western and northern horizons, 15-20
degree southern horizons, and ~25 degree eastern horizons. Our enclosures
were moved down from the hilltop in the summer of 2003. The observatory is surrounded by oak and chaparral
hillsides on two sides, and Porter Gulch Creek on the other.
While this site is
astronomically not as good as our previous location on the hilltop above campus,
it has the advantage of no line-of-sight to any lights whatsoever, and is isolated
from the rest of the campus. It has good western and northern horizons, 15-20
degree southern horizons, and ~25 degree eastern horizons. Our enclosures
were moved down from the hilltop in the summer of 2003. The observatory is surrounded by oak and chaparral
hillsides on two sides, and Porter Gulch Creek on the other.
The observatory consists of three buildings - a 640 sqft storage/workshop building, and the domed "Observatory" building, and an 8x8x20 ft steel shipping container for additional storage.
When you arrive, park along the sides of the road, near the lower well. Don't park on the rocky observing pad, nor on the incline to the upper well (that spot is reserved for the Instructor and Lab Assistant).
 |
 The
Domed Observatory Building
The
Domed Observatory Building
The 350 sqft dome building houses our 12" Meade LX200 telescope on a Losmandy G11 mount with Gemini navigation system. It has a 6' fiberglass HomeDome on the roof, and a 12" diameter 8' high concrete pier with a 64 cubic ft concrete foundation supporting the telescope. The scope is housed in a 16'x8' "cold room" which is thermally isolated from the "warm room". The warm room has a desk facing the telescope through a thermal window with 2 computer stations - "Spock" controls the SBIG ST2000xcm CCD camera and can also navigate the telescope, while "Sulu" can optionally navigate the telescope. Each are Windows 10 desktop machines. The computers are networked together and connected to the internet via a 802-11b wireless connection from the Horticulture complex on the hill above us. Interior, there are ethernet connections to the computers, and wireless is available for students on their laptops. The dome is controlled by motors which can be operated manually, or using sensors mounted to the telescope. We have an ST2000XCM 2.1 megapixel color CCD camera with 2-stage thermoelectric cooling for dedicated imaging at this telescope.
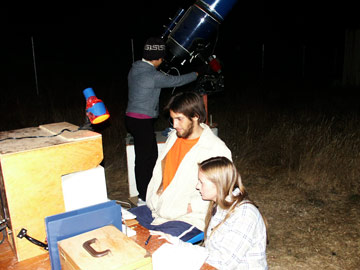
Currently not in use. The single-channel old Optec photometer (30 years old!) is no longer working and no longer supported. However, the station for it is still there, and can be used for 8SE telescope and/or photography sessions. Here's the description.... Between the two buildings is our photometry station. On observing nights, we would carry out a 3'x5' table and mount it on permanent cinder block supports. Then bring out a weather-shelter enclosure box which contains a computer system. And finally, our 8" Celestron 8SE Schmidt-Cass telescope is carried out on its tripod. Two-star alignment and computerized 'go to' ability make finding these faint variable stars and other targets straightforward. An underground conduit carries data lines from the telescope + Optec SSP3A photometer (when it was used) to the computer. 2-person student teams rotate through this station on observing nights and typically take data on new variables or on eclipsing binary stars. Single channel photometry is done with the Optec SSP3A photometer connected to a computer. Data acquistion and data reduction is accomplished with the RPHOT photometry software package, which Richard Nolthenius wrote back in the early '90's and licensed to Optec for distribution to individuals, colleges and research institutions around the world. Here is a .pdf version of a paper on the RPHOT package.
Our Astro 9A/B/C astrophotography students now do exclusively digital (no film) work. They have access to an array of equipment. An SBIG ST2000XCM color CCD camera is mounted on the 12" LX200 dome scope for color imaging. This is our largest imaging telescope setup. We also have high quality portable setups: A Meade 8" f/4 LXD75 telescope on Losmandy GM8 mount. It is paired with our SBIG ST4000xcm CCD camera with a single-shot color 2048x2048 detector. It is capable of producing great astronomical photos, as our gallery shows. We also have Nikon D7000 for wide angle tripod shots, an array of Canon Rebel T1000 cameras for taking planet and lunar photos suitable for stacking and processing. In the Astronomy lab room 705 we have 6 computers for student photo processing. Astrophotography classes have been under-subscribed in recent years and not offered. But when they resume at some point, will generally be taught in the Fall only. A GTF 80mm APO flourite refractor is also available, as a wide angle lens for astrophotography.
A concrete piers is available for mounting our
other telescopes. During observing nights, Astro 8A students are engaged in projects
with portable instruments. These include...-17" f/5 home-made Dobsonian
-13" f/5 Odyssey Dobsonian
-12.5" f/5 "Star Splitter" Dobsonian
- An 8" Celestron SCT 8SE scope
- 8" Odyssey Dobsonian
- 3 10" f/5 Orion Skyquest Dobsonians
- 14 pair of 7x50 binoculars
- 1 pair 10x70 binoculars usually mounted on tripod, and a 9x63 pair of binoculars
- Williams Optics GTF 81mm refractor, for imaging.
- A Meade 8" f/4 LXD75 Schmidt Newtonian
- Two Celestron 8" f/10 8SE telescopes
-
MaxIm DL/CCD
software
- 4 computers in the Dome Building, all
packed with imaging software including Photoshop, CCDOPS, CCDStack, and Registax 6
Other Supporting Equipment (spec page)
- Meade LXD75 mount generally used for wide-angle tracking
of cameras mounted to a dovetail adapter piece
- IOTA VTI
video time inserter for occultation work
- PC164C video camera with Bumgarner manual gain control, for lunar grazes
- PC164Cex2 video camera for asteroid occultations
- Watech 910hx video camera for asteroid occultations
Storage Building
Chuck Mornard and the CEM Department's construction
engineering class of Spring '05 did a fantastic job of hammering together a
fine storage 640 sqft building. Thank you, Chuck! (The building is in the background of the GM8
picture above right.).
 Main Observatory Building
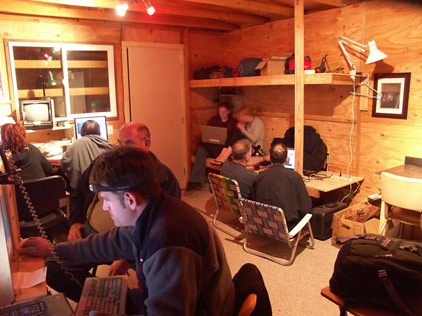
In 2007 Chuck and I and his students then constructed the main observatory building, replacing the old steel shipping container/observatory. This new building gives students the experience of professional observational astronomers: interacting with the telescope, CCD camera, and telescope guiding systems via computers and specialized software in the "warm room". This is adjacent to the telescope dome, which remains at ambient air temperature to improve atmospheric stability. Having the computers and students in a separate "warm room" eliminates the problem
of warm air rising right through the open dome slit and across the optical path.
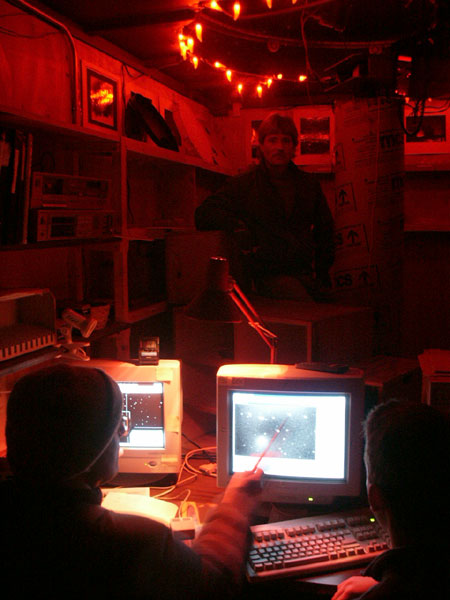
This has improved the
notoriously poor astronomical seeing we had experienced. It's also more comfortable
and spacious for the students and myself. At left, you are looking at the "warm room" during a night that clouded over. The 12" scope is under the dome, behind the window at back. If you look carefully, you can see the concrete pier and the bottom of the telescope mount. Here's a photo
page on the construction of the main observator building ... The new observatory building has
four computers for student use in case it gets cloudy partway through the evening,
and space for many more students to curl up with their laptops and work on their digital
astrophotos.
SkyShed POD Observatory Dome In late Fall 2011, we received grant funding to 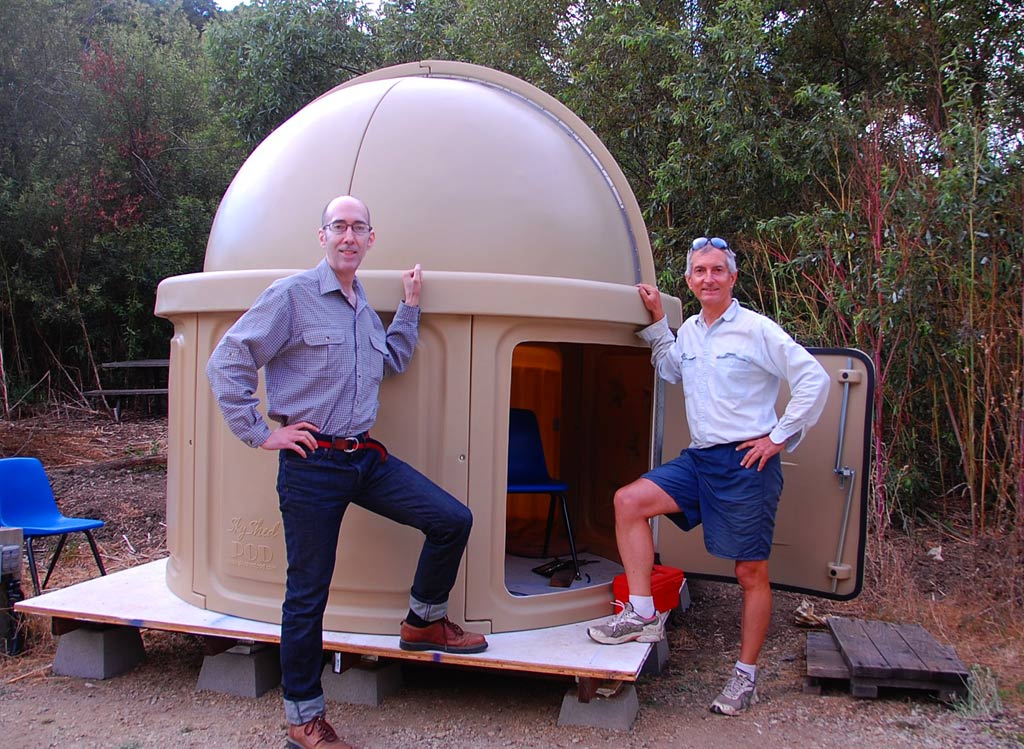 purchase a Skyshed POD Observing Dome - Click here to learn more about our POD project and see the construction process. The day by day journal entry of work can also be seen on my "Captain's Log - Startdate" page. Unfortunatelly, the dome was not tough enough to prevent its occupation by homeless people, and also a theft occurred, causing us to sell the POD. The department is still lobbying for construction of a second permanent observatory building with dome, alongside the first. Funding has not been granted as of yet. I keep the photo at right mainly as an heirloom of better times, constructing this setup! In actual fact, it's now covered over with the relentless undergrowth, and not in this picture is the more recently acquired 8x8x20' shipping container storage shed. The white painted foundation you see, however, is still there.