Our New SkyShed POD Observatory
Constructed in Summer 2012
Our new POD dome structure will house an 8" Celestron with a Hyperstar system and QHY9 CCD camera. The system will produce images with a field-of-view of over 5 square degrees of sky. This will be the widest angle, most sensitive astrophotography system at Cabrillo Observatory. On most nights, it can be used by astrophotography students for imaging. However, the most unique and scientifically important goal of this new facility will be to aid in the detection of new planets around other stars by the transit method. Detecting transits means detecting tiny drops in light; a percent or less, lasting a few hours. To do this requires high precision photometry. For stars of 10th magnitude and fainter, there are many facilities around the world now engaged in this work. However, detecting transits around very bright stars, like 7-8th magnitude or brighter, is made much more difficult by the wide spacing of suitable comparison stars and the need for large field of view, yet good signal to noise. this requires a very fast system. The Hyperstar mounted on the C8, and using the large KAF 8300 chip on the QHY9 CCD camera will provide these.
Site
I decided to make use of the existing 12" concrete pier with power outlets which is halfway between the main observatory dome and the storage building. This has a good view of every direction except the north, which is blocked by large trees over the BBQ deck. Using this site saves the expense of creating a new pier and underground power lines to a new site. It also makes the best use of our existing building site pad by not blocking access to the storage or main dome buildings. It was clearly the logical place.
Our POD will have one computer bay, which will be on the north side of the circular structure. Over this will be constructed the PZT - POD zenith tray - which allows the rollers on the bottom of the dome to roll the dome completely off the walls and recess it towards the north. There is a 16" diameter circle at the axis of the dome which permanently blocks a piece of sky. To avoid this, the PZT must be used. I've offset the axis of the dome from the concrete telescope pier so that the pier can have an unobstructed view of the zenith and anywhere south, as well as all other direction except the 16 " diameter circle which is approximately at a 60 degree angle from the zenith, towards the north, for the positioning I chose. This is close to the area blocked by trees anyway, but if observing in this direction is still necessary and not blocked by trees, the PZT will be used.
Construction Process
I'm a one-man astronomy department. If anything is going to get done, I've got to do it. Our POD Observatory requires a building foundation to be mounted upon. So, I needed to construct it. I settled on a design, using 17/16" thick standard flooring to be mounted on 2"x4" joists of pressure-treated fir, mounted on pier blocks. I bought the materials during several trips in May and June to the Home Depot in Soquel. I first painted the flooring with outdoor roofing paint for durability, setting them vertical to dry.
The top of the pier. North is down
|

Digging out the hillside and leveling the heavy pier blocks was the most onerous of the building tasks. Fortunately, the placement horizontally could have a few tenths of an inch variation as long as the blocks were solidly seated and darn close to defining a planar surface
|
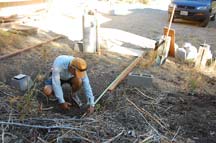
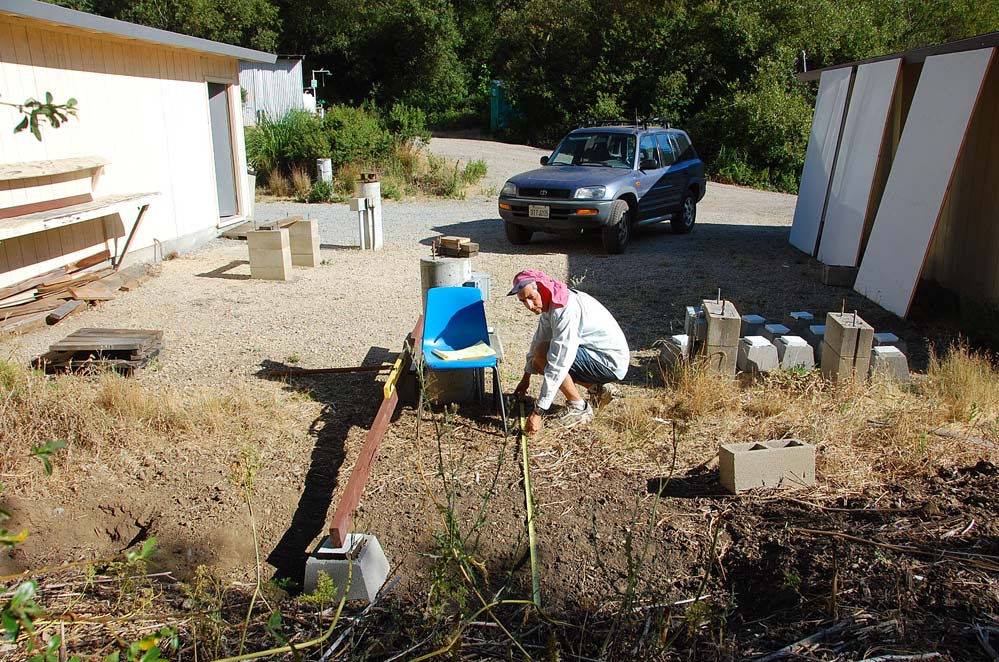
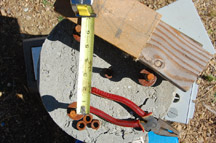
I used straight lumber and a tape measure to pretty accurately determine the corners of the flooring, and marked each of the 4 corners by pounding a long screw into the ground
|
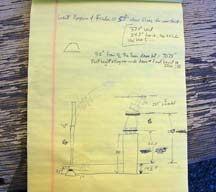
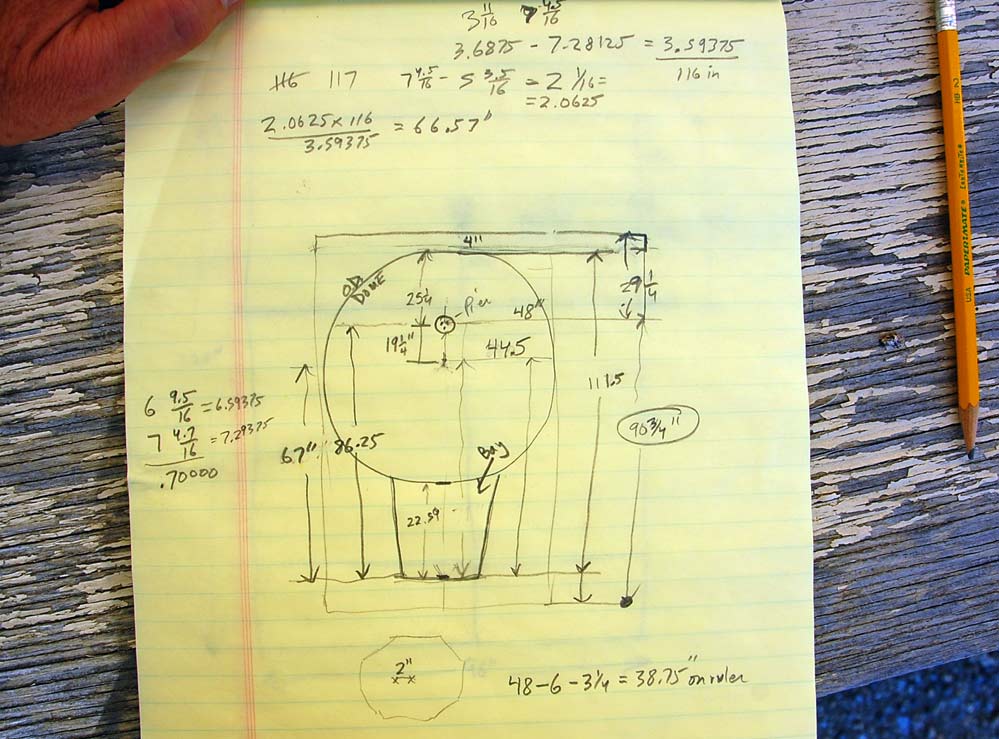
I offset the center axis of the dome northward by 19.25" from the center of the pier and telescope mount, to get an unobstructed view of the zenith. The dome still clears the top of the telescope with plenty of room on the south side.
|

The plan. The observers bay is on the north side, where the hill is cut away. The pier is
|

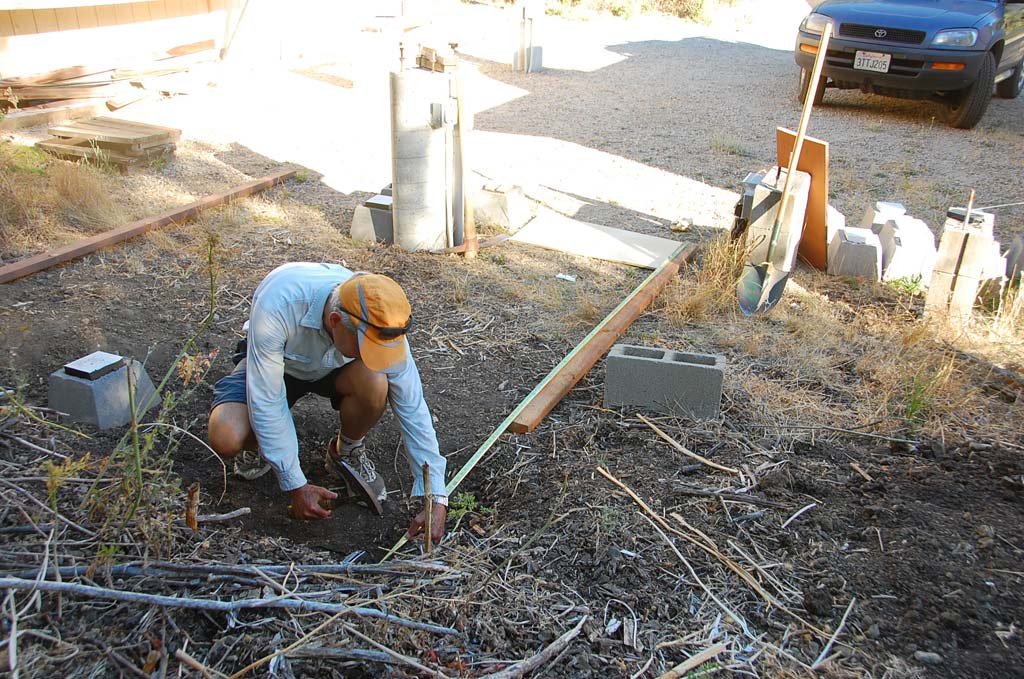
Pier blocks placement. The edge of the floor is marked by the inner side of the brown board at left, and the perpendiular board next to me. The flooring is side-by-side 4x8 plywood, with the dovetail connection going right through the center of the pier. There is an extra 24" cut from the third floor board which makes up the north side edge. All the above photos taken June 28 and June 30. |

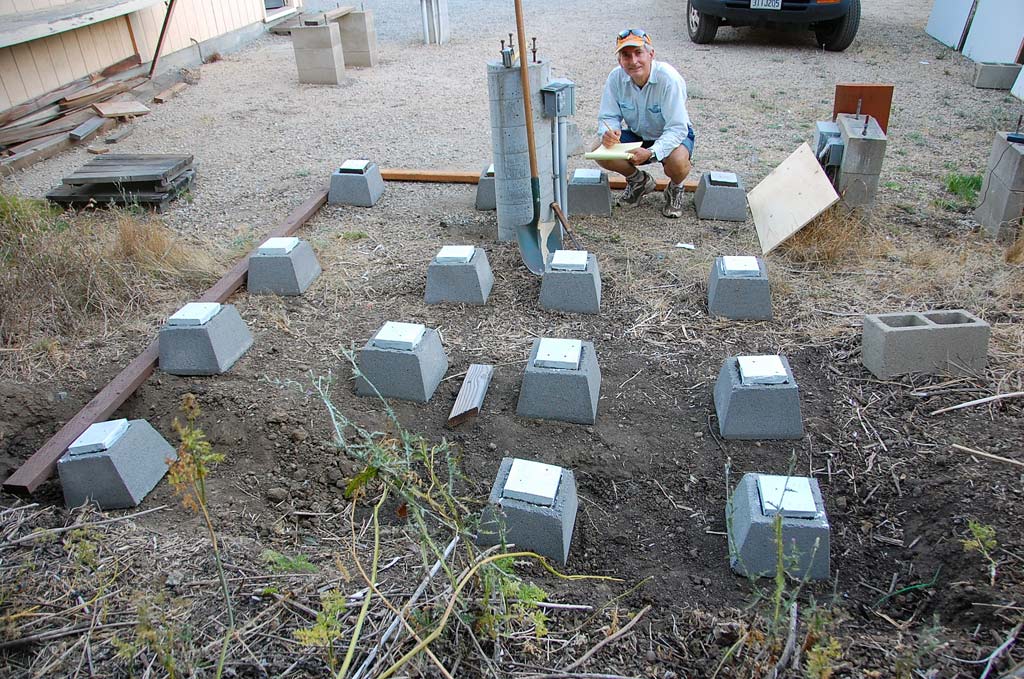
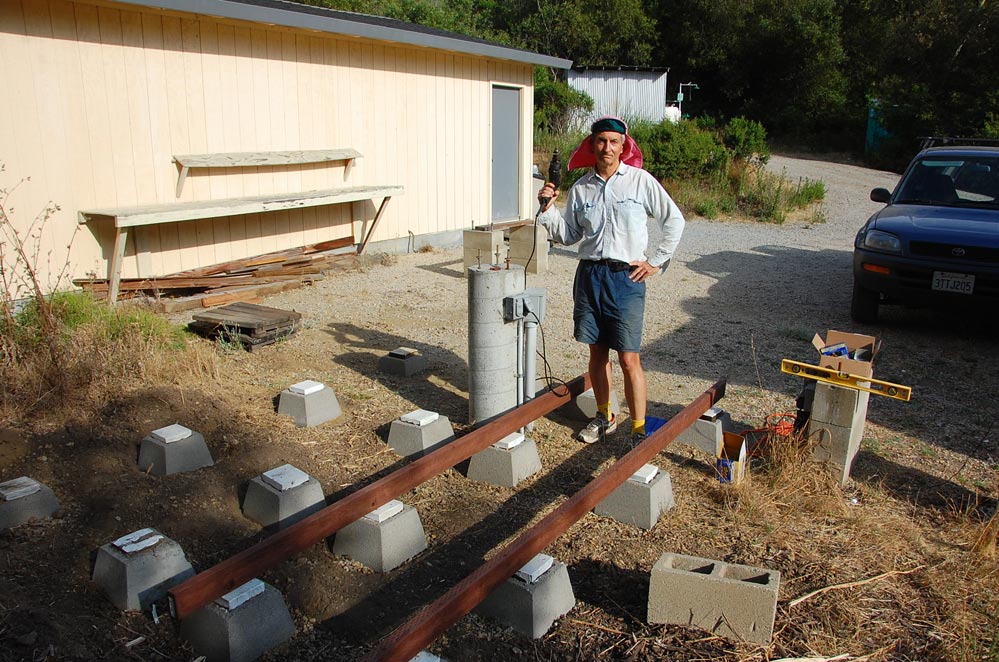
By July 10, I'd set and levelled all 16 pier blocks. Today, July 11, I stopped by Home Depot again and got a gallon of good exterior paint, two boxes of coated deck screws (1 5/8" for the 2x4's, and 2.5" for drilling through the flooring into the joists), and two 10' 2x4" pressure treated fir boards to replace the two we already had which hopelessly warped themselves.
|

I used angle joinery to drill the 2x4's and set them onto the pier blocks. By sunset, I had two 10' joists drilled into place.
|
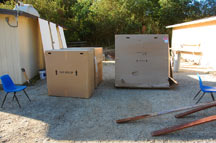
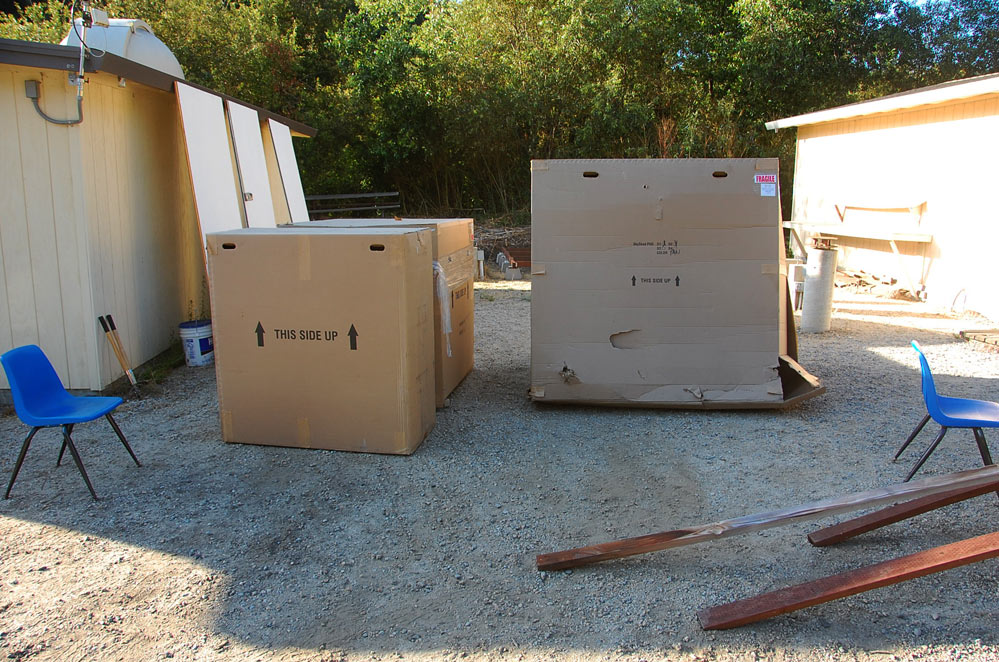
Friday afternoon July 13, the day before our workparty to install the floor and dome - the POD boxes finally arrive. 2 came as per the plan, and the last two for some reason didn't get packed onto the truck, but Old Dominion Freight Lines' John offered to load them into his personal pickup and drove them through heavy traffic from San Jose so we could get the installation happening on schedule. Dome-raising day arrives tomorrow!
|
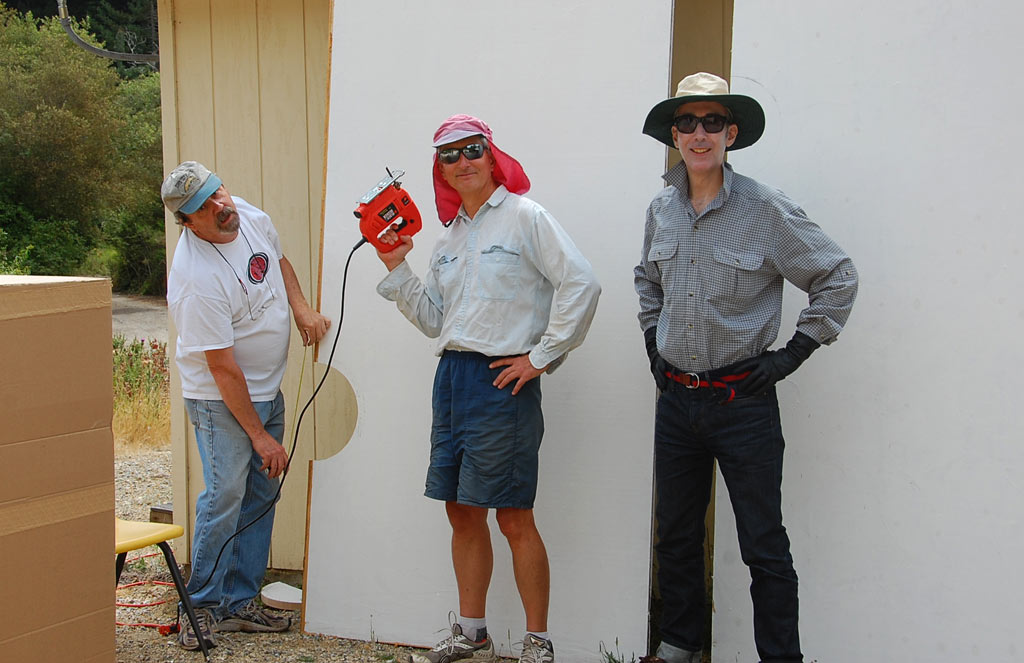
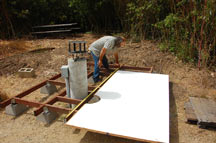
Have Jigsaw - Will Cut. I'm flanked by Mark and Duncan. My first task; cut-outs for the concrete telescope pier on the floor boards. |

Dome quarter's, unboxed
|
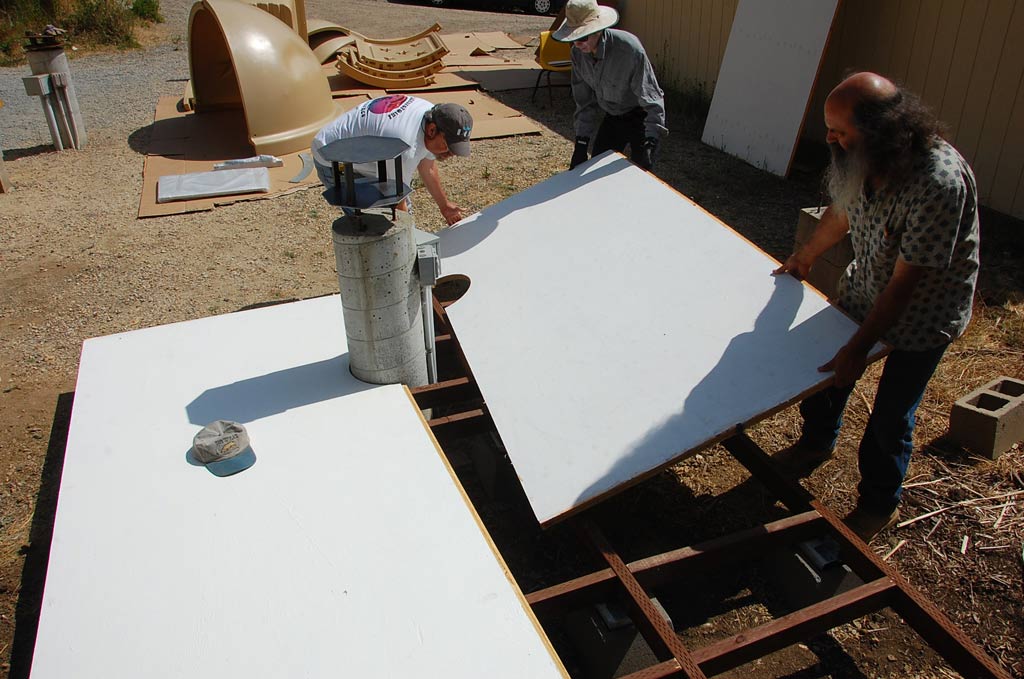
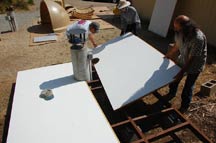
I'd finished the joists before today. Now it was time to position those floor boards.
|

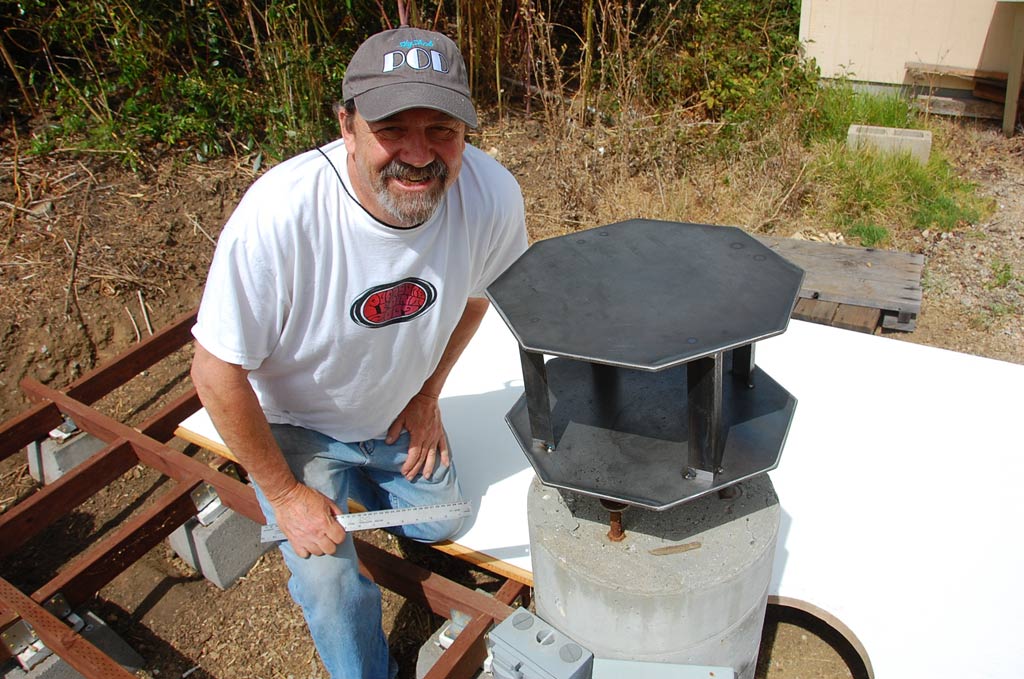
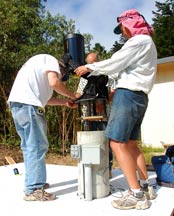
Mark did an beautiful job, volunteering to put his welding skills to work making the adapter for our telescope mount. Automatic "A+" for Mark!
|
I left a 0.5" gap around the concrete pier in order to insure mechanical isolation of the pier from the floor. Otherwise, walking around would cause vibration during image taking. I'll put in a carpet later which covers right up to the concrete. Hopefully this will keep critters out. We shall see.
|

Hey, no more posing, Nolthenius! - Let's stay "on task" here!
|
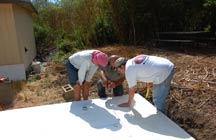
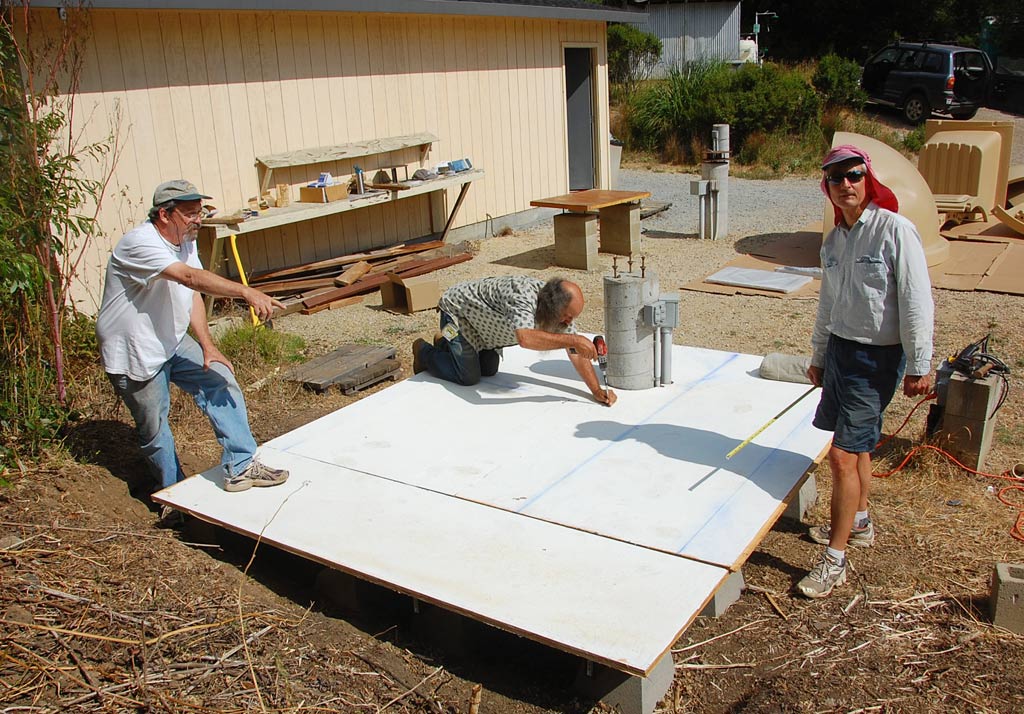
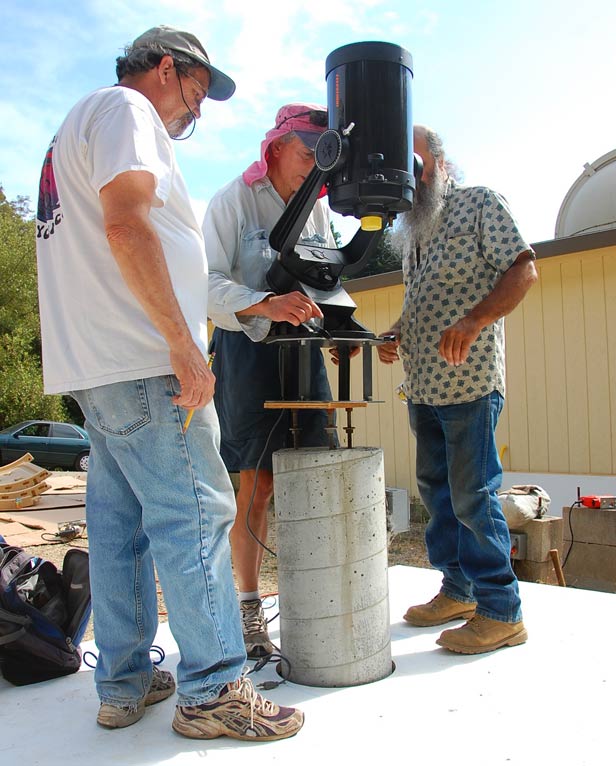
Not sure why it took 3 people to make sure this screw went in OK....
|

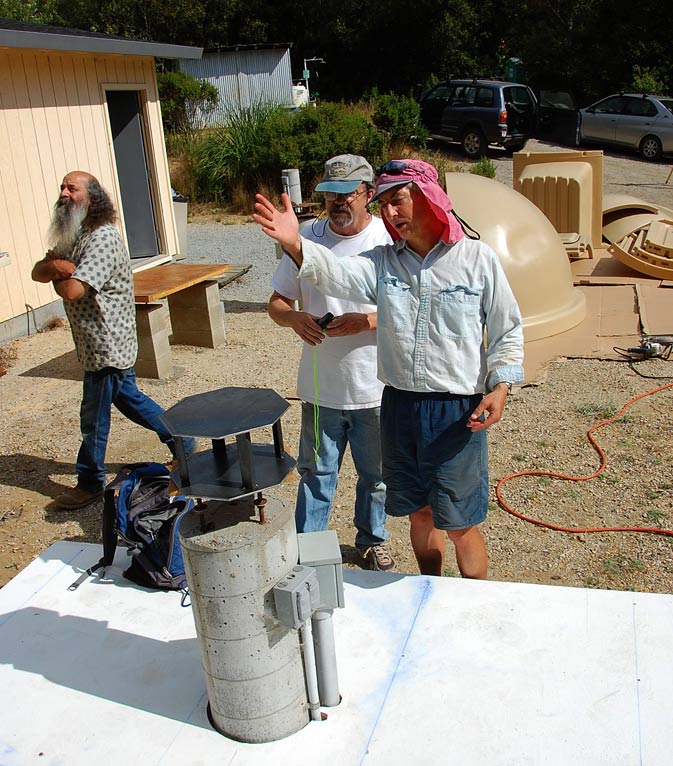
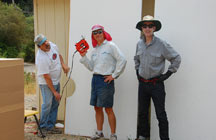
To set the adapter on the pier correctly, we need to know geographic north. My experience vs Mark's compass, which was compromised by the nearby steel of the adapter.
|
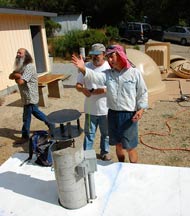
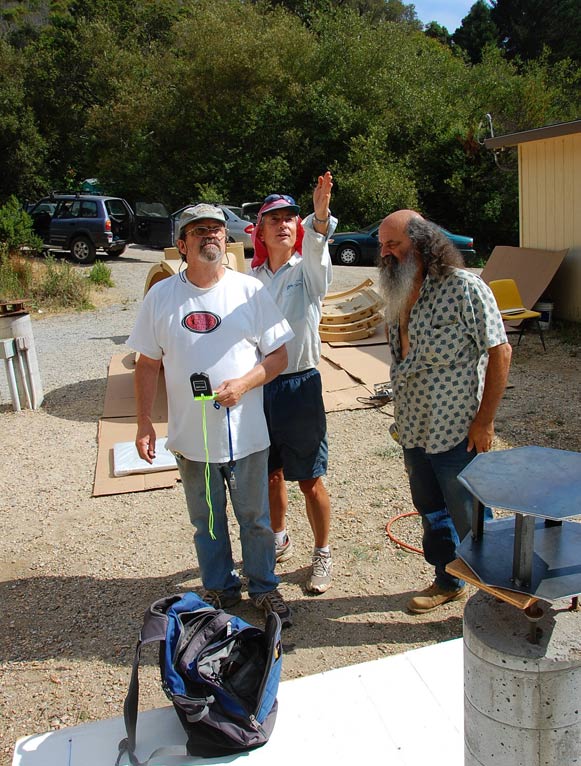
"I'm telling ya, north is that-a-way"
|

I align the wedge/polar axis on north and slide it around to maximize the stability when we're bolted up...
|
...so then Mark can trace the outline of the adapter onto a board I've already traced the bolt pattern onto. He can use this to drill the final hole pattern.
|
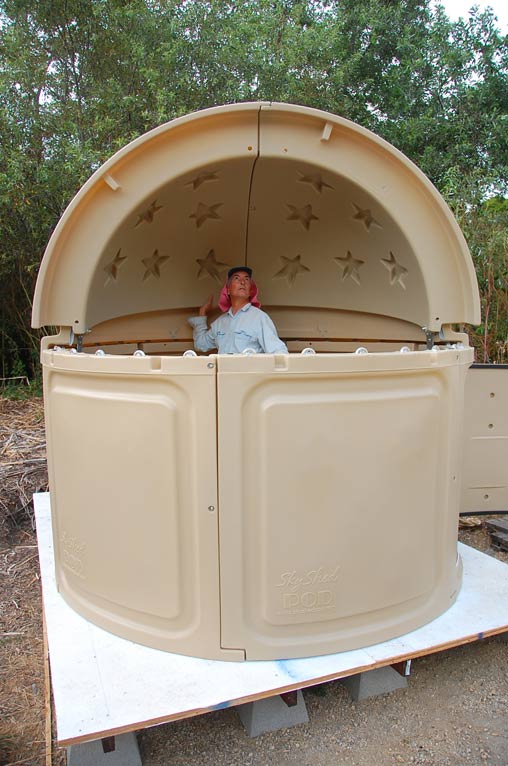
One wall segment is actually a "bay", into which we will mount a sliding shelf for a laptop computer to control the telescope and imaging.
|
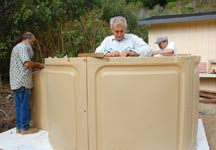
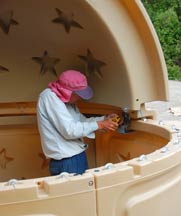
Stacking the walls together goes quickly, now we install the dozens of acrylic wheels with fiberglass axels on which the dome will spin. The fit is very tight and it takes some thought till we decide to place the non-bushing'd side of the wheel axel above the groove and forcefully press it in with a block of wood.
|
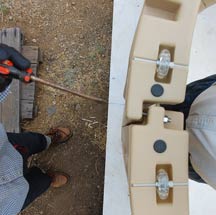
Next issue; we discover that the door segment and the regular wall segment both have a 'shoulder' within the wall interface which separates the segments so much that we can't fit a washer onto the bolt, nor get it to go through straight. Karl suggested we swap out this regular wall segment for another one, which did not have the "shoulder". That worked.
|
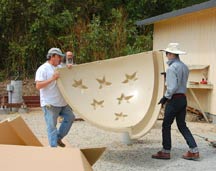
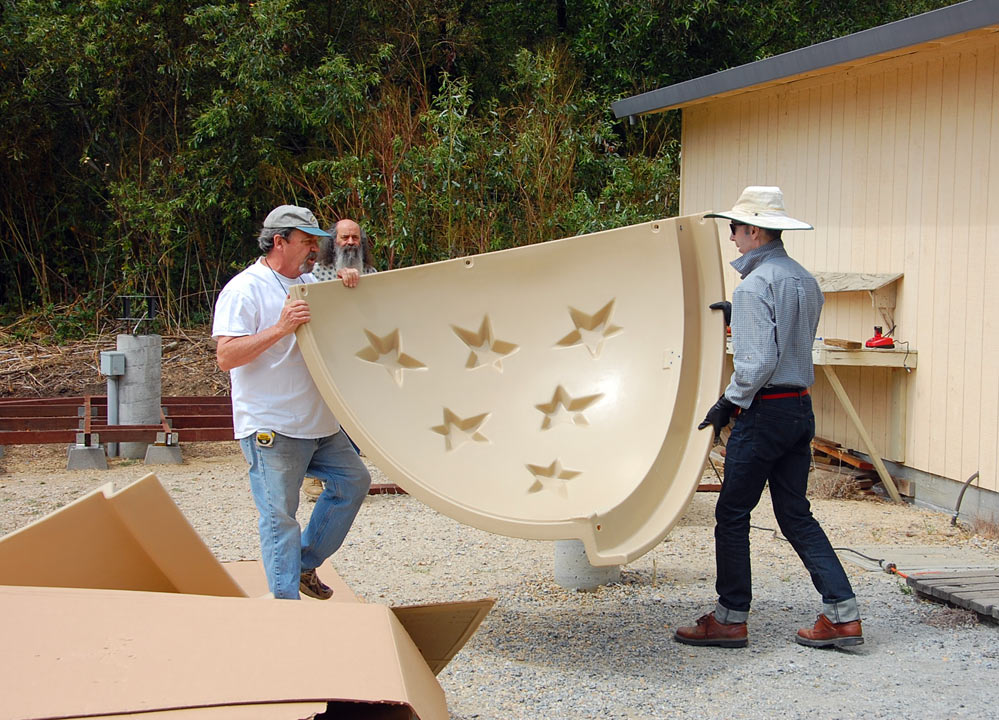
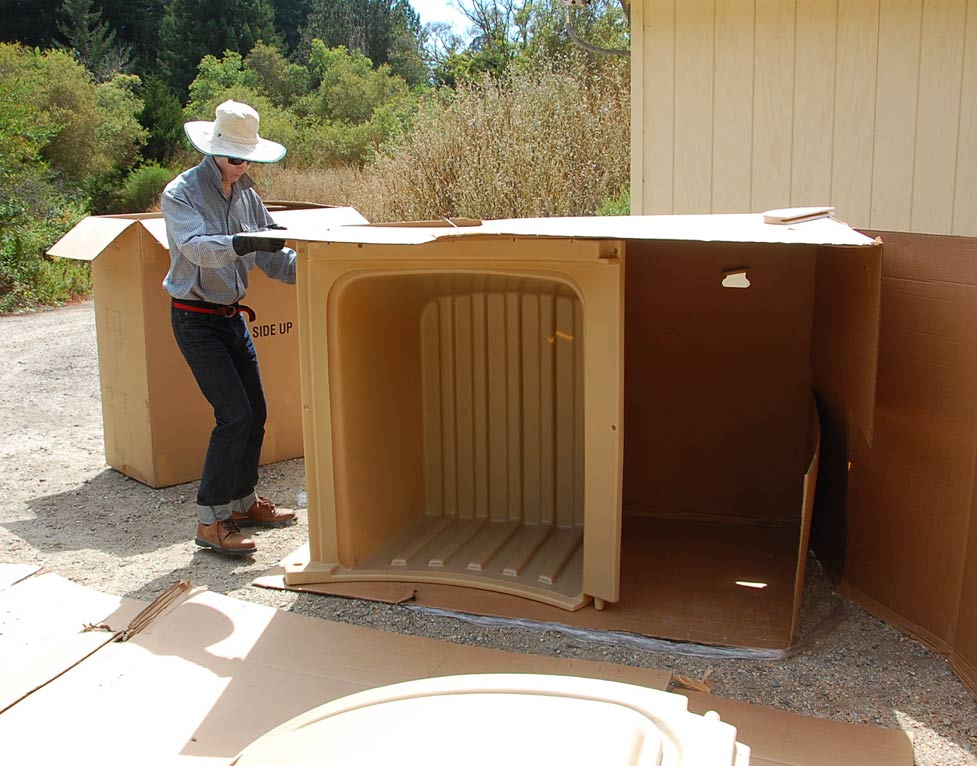
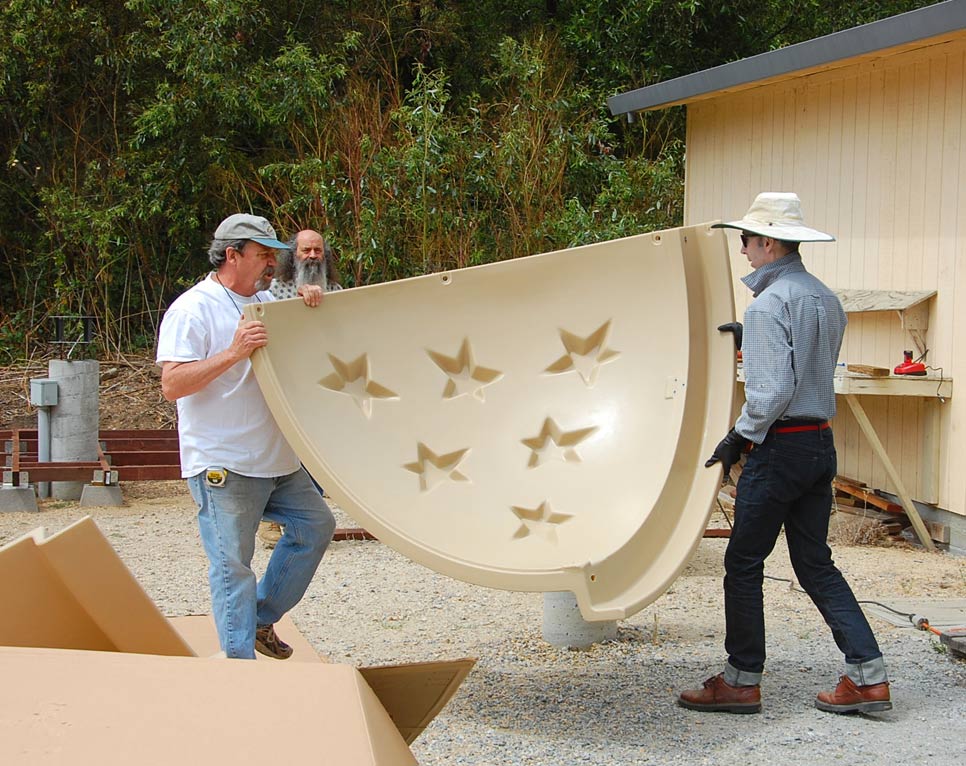
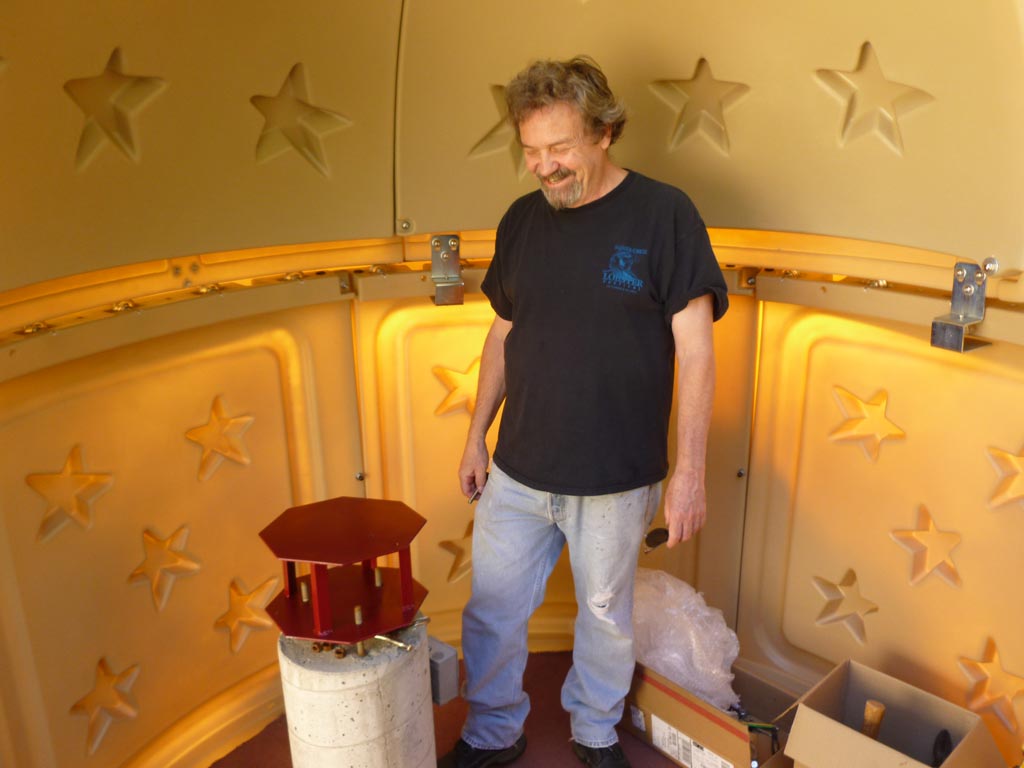
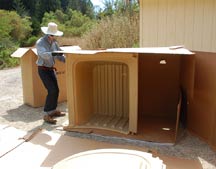
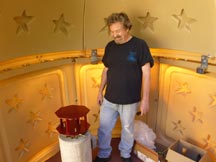
Unpacking the dome quarters. The "stars" on the inner surface lend a bit more whimsy than I'd prefer at a college observatory, but it isn't an option to not have them, alas. The quarters must be bolted together after applying weather stripping.
|
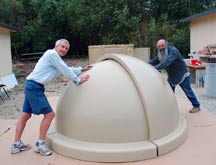
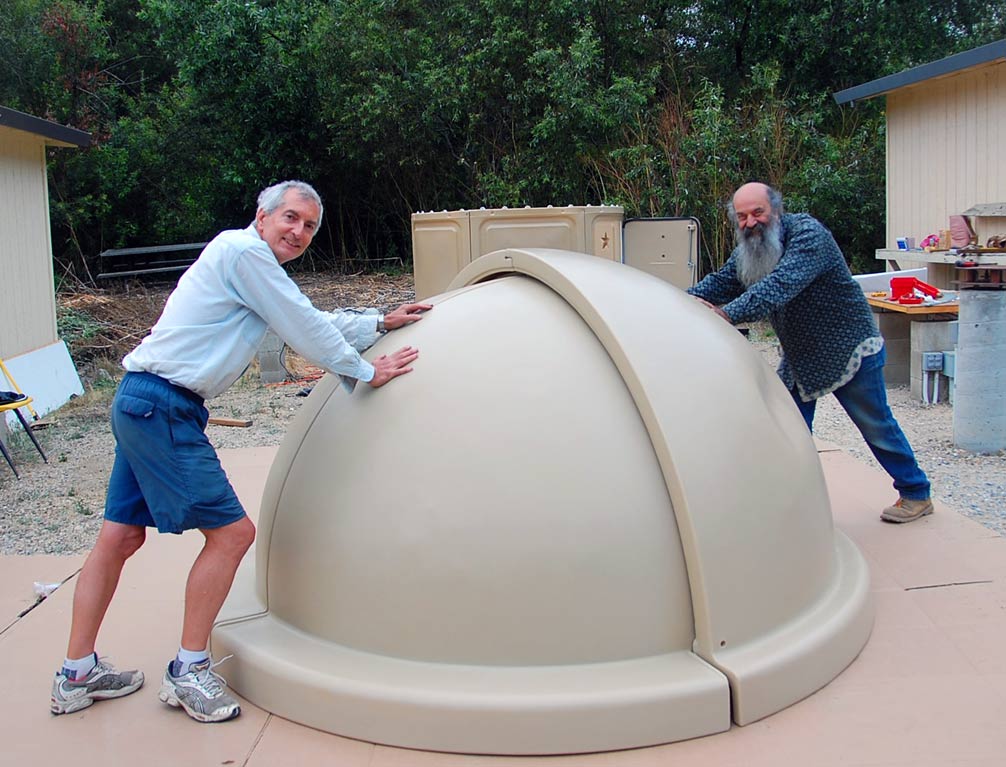
Pushing the primary and secondary domes together to see how well they mated. Nice! It was a great decision to keep the box cardboard unfolded on the ground as a working surface while we worked on the domes. Look closely on Karl's side and see the big indentation which probably happened during shipping. It's been slowly getting smaller over the days since.
|
It was sunset, time to pack it up. It would require one more day with at least one person to help me, in order to mount the domes. Then, I could finish the project myself if need be. It was decided that Duncan and I would get together on Tuesday July 16 in the afternoon. Karl was preparing for a conference in Baton Rouge, and Mark had a busy schedule too. No problem - just two people should be enough.... As it turned out, we needed a 3rd just for camera work. We spent the first couple of hours making sure we got the metal runners screwed in properly to the dome flanges. Needed 4 hands (at least!) at all times, and no way we could do documentary photos. Not till we got the domes up and mounted! We then spent some time kicking the walls a bit to achieve better circularity so there'd be no rubbing as the dome spun around. Even with a tad of rubbing, the dome system clearly works.
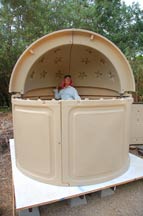
Both domes installed and nested. Duncan's on photo detail now.
|
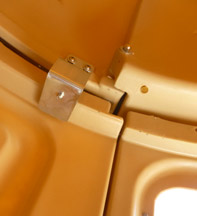
Installing the first of 3 dome brackets, with their own wheels which keep the dome mated to the walls. Duncan's help was also essential in drilling and installing the wooden mounts for the shelf.
|
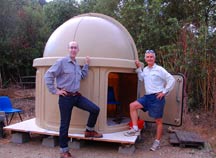
Our hero shot! The dome's in and works just as advertised
|

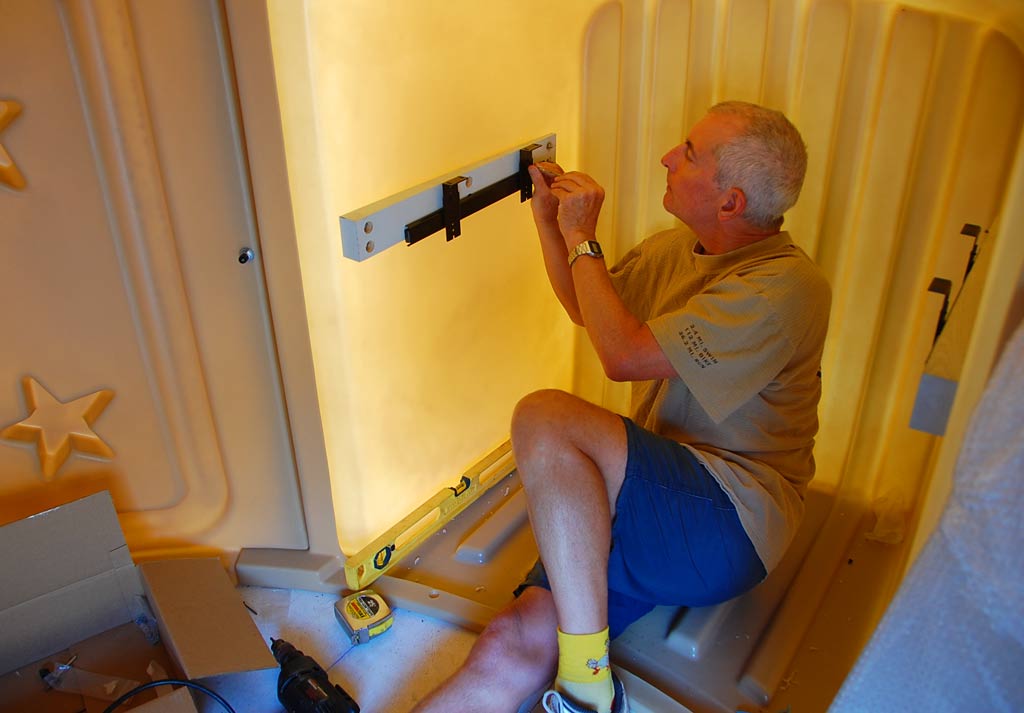
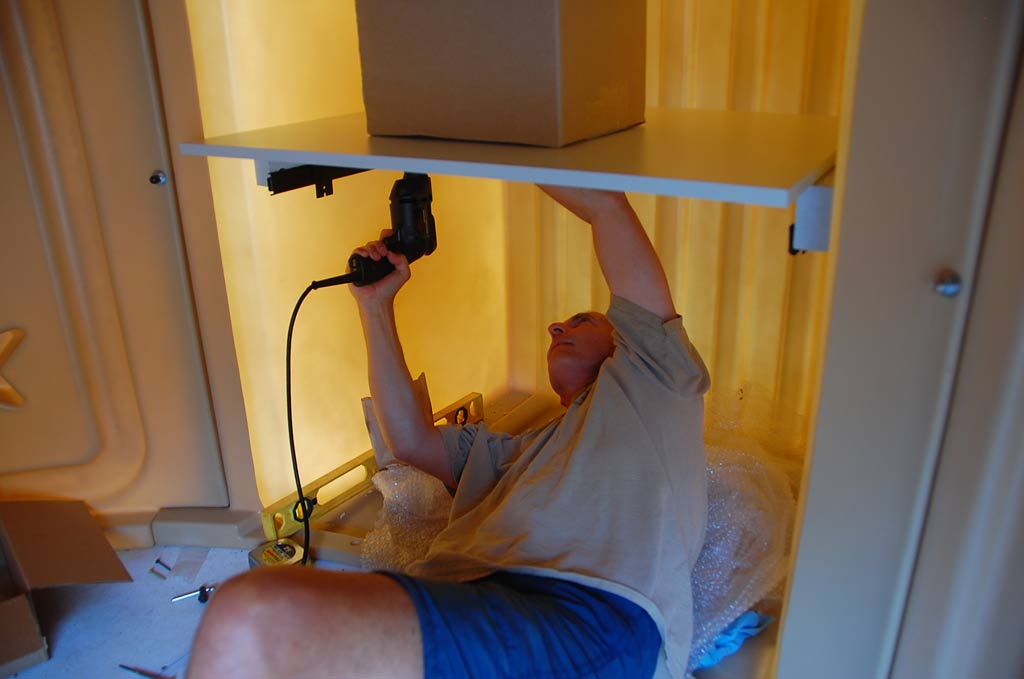
A few days later, I'm on my own, installing the shelf sliders
|

...and the shelf. Works smooth as silk!
|
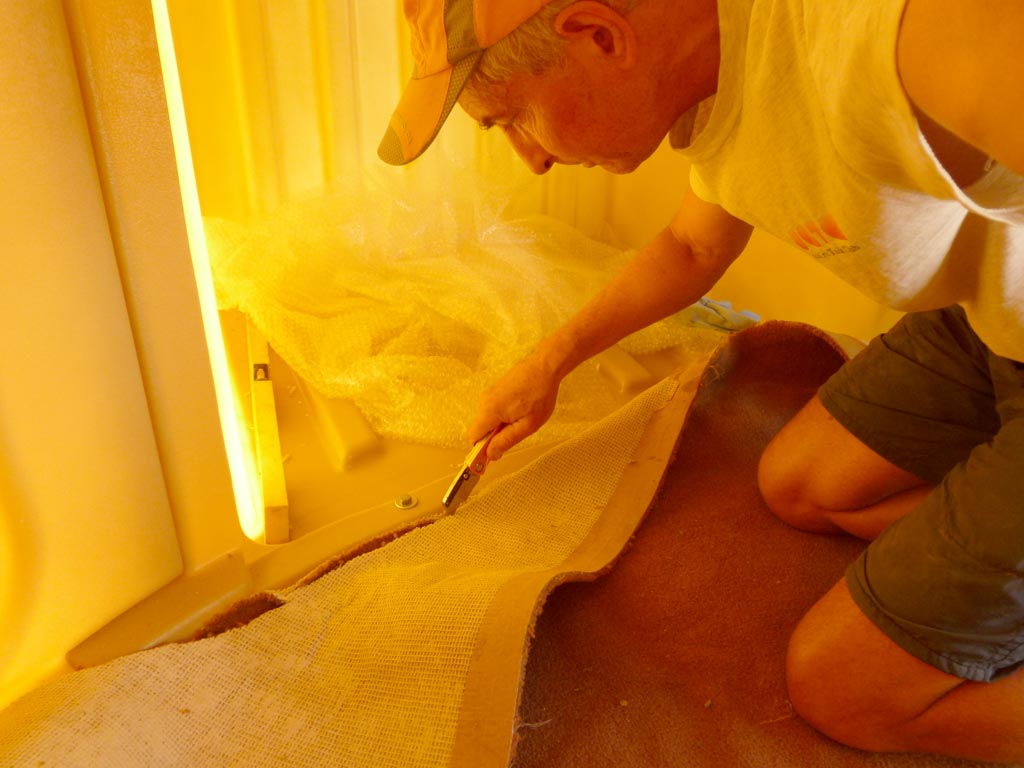
Aug 3: I biked out to the observatory and worked on tuning up the fit and rotation of the dome and walls, altering one bracket wheel, tightening up the wall bolts, so it seems to spin freely. Now that the walls seem to be in a good circularity, I could take the carpet that we'd had in storage since the old shipping container days, and fit it for its next incarnation. A week earlier, I'd measured what we need and cut a 7.1' square piece, and cut out a 12" hole for the pier. Now, I got it placed inside the dome, and began to cut the circular boundary. But I'll need new carpet cutter blades, as after an hour of struggling I'd barely done 1/4 of the circumference...
Aug 13: A rare occultation of the planet Venus by the moon. Afterwards, I continued with cutting the carpet I have carefully stored for years, now for use in our new POD. Boy, new blades made a huge difference.
|
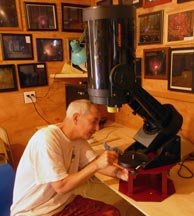
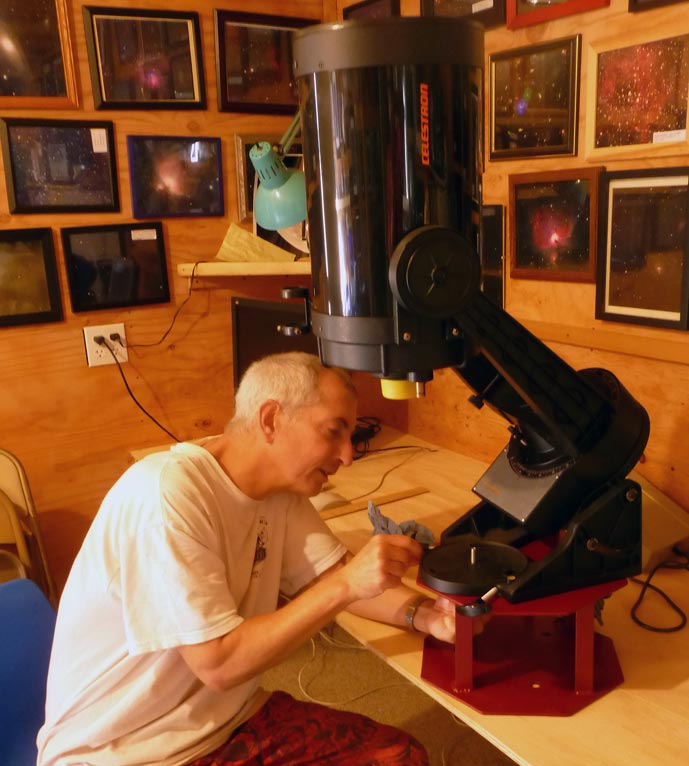
Oct 3: Student Mark Meacham and I get together to check the drilled, painted, completed telescope mount adapter he made for us. Beautiful! Here, I'm checking the drill holes - smiles all around!
|
Bolt holes drilled perfectly too. Great workmanship. |
We also teamed up to carefully place the weatherstripping; first rain may be this coming Tuesday.
|
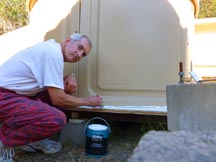
Oct 5: Saturday, I spend a couple of hours adding a second coat of exterior paint to the flooring, in prep for doing silicon'ing around the base. |
Dec 19
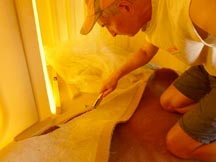
The story for today was trying to seal the Dome against rain. There are two issues: (1) water leaks from under the dome walls; the silicone and then Lexel applications have not prevented water coming through. (2) water is somehow getting into the inside of the dome shell, such that water comes out of the hole when you rotate the clamshell, and it leaks continually when rain is coming down, and the storms of the past few weeks have made for several inches of water in the bucket I placed under the hole.
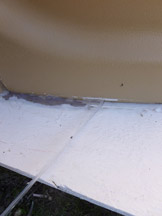
Duncan and I worked today; I pryed up the dome and Duncan stuck a piece of 2x4 underneath, from the inside of the dome, so that it was supported by 1.75" off the flooring. We pulled off most of the silicone and Lexel which was the previous attempts. They came off surprisingly easy. Quite waterlogged underneath. We then used hair dryers to dry out the wood and painted surface of the flooring. We then applied 3/4" wide sticky weatherstripping to the underside of the dome walls, and set it back down onto the flooring.
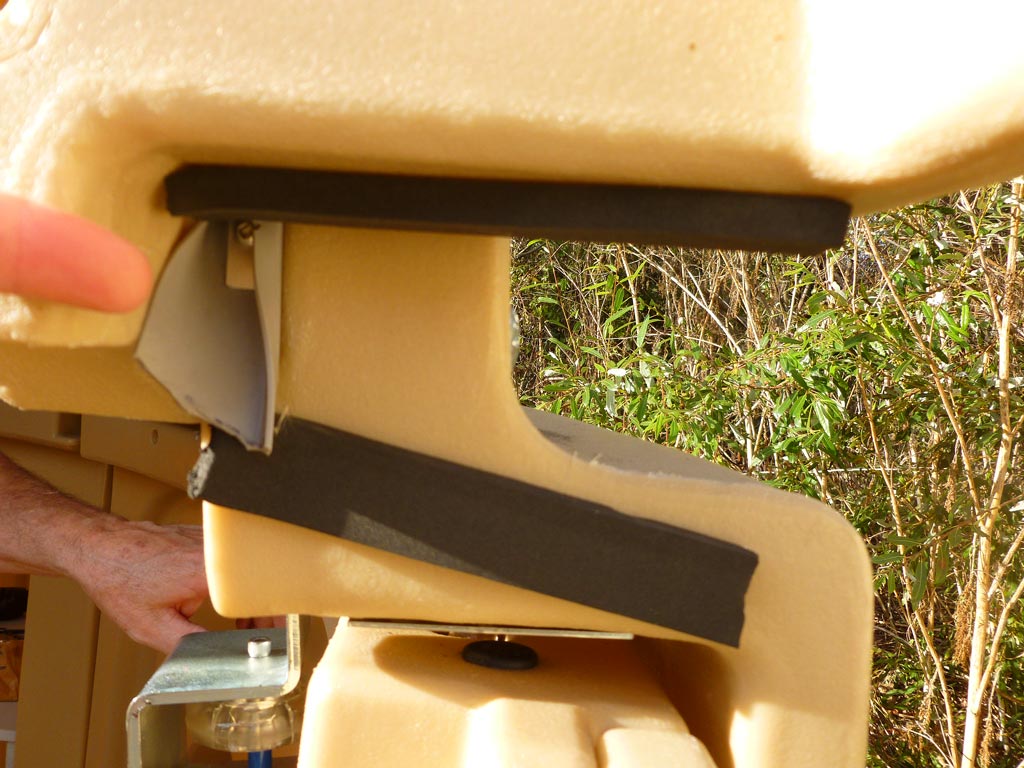
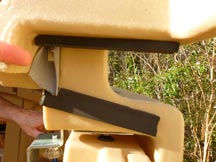
Looking up, at the pivot point of the closed clamshell and the hole in the moulding out of which water is pouring when it rains, or when you jostle the clamshell.
|
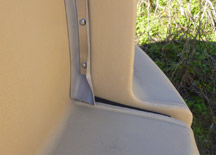
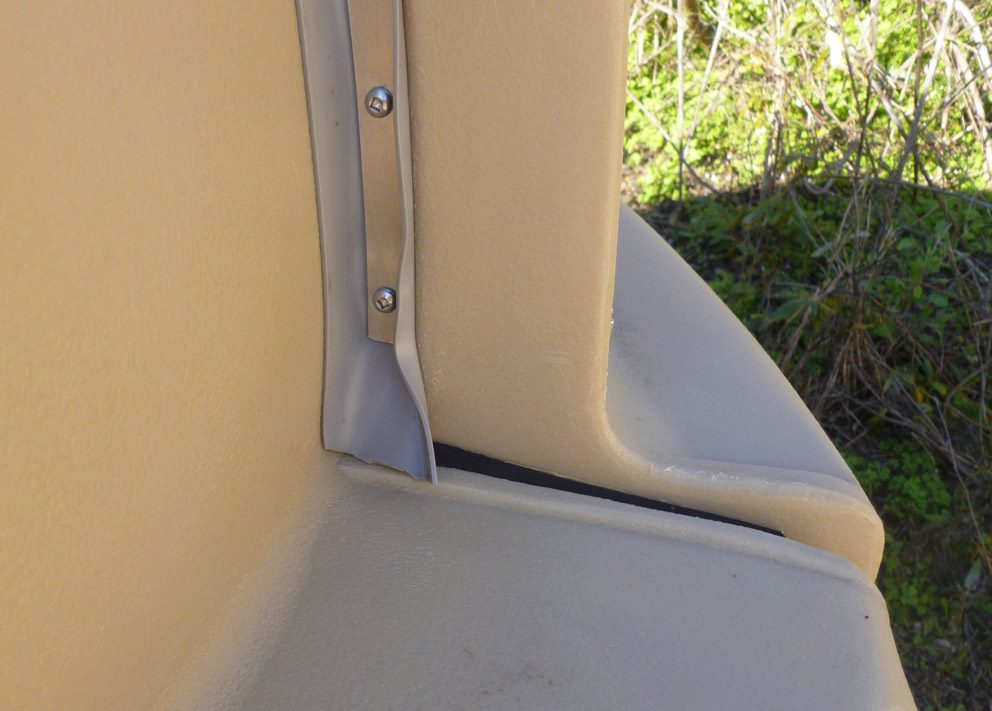
The rubber gasket on the side that is getting rainwater into the interior of the dome shell.
|
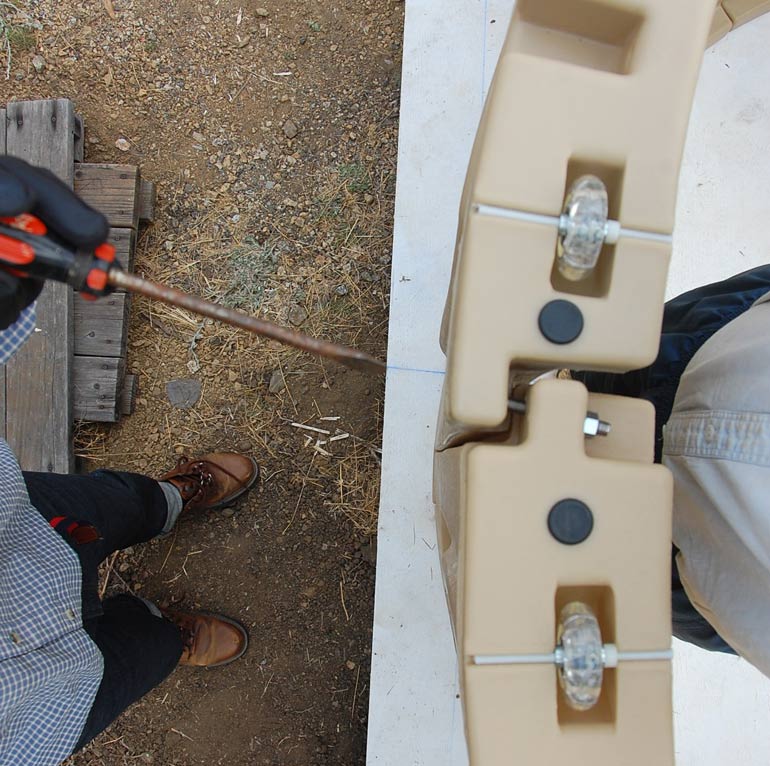
I'm pulling on the Lexel, I applied a couple of weeks ago, along the bottom of the dome. It's pulling off like taffy (my hand is off camera on the lower left, pulling the strand you see)
|
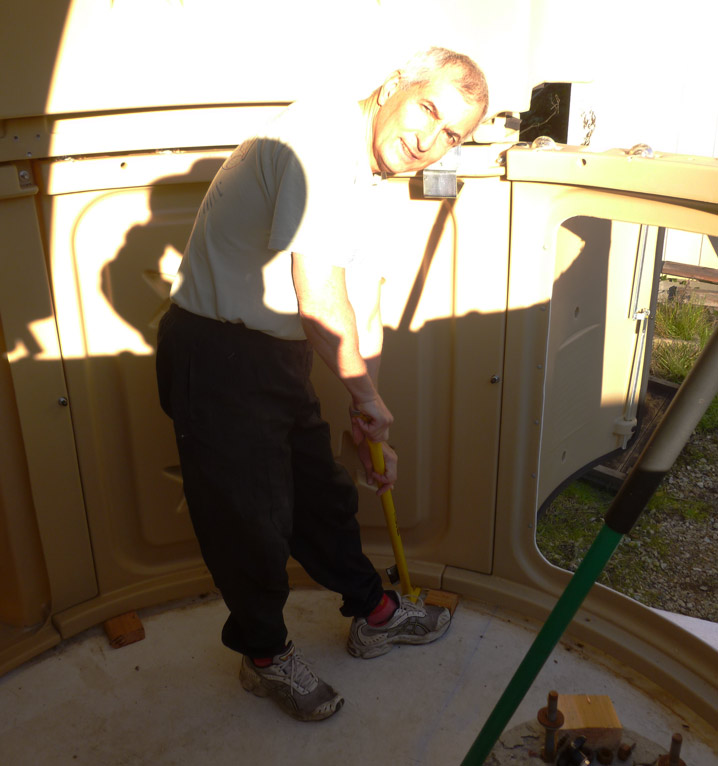
I'm using our large yellow crow bar to pry up and reveal the flooring underneath. Then Duncan pops a piece of pre-cut 2x4 into the gap. |
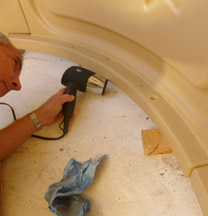
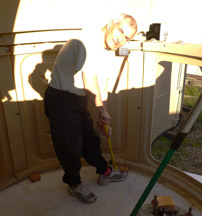
Applying hot air to dry out the underside of the dome walls and the flooring underneath, before applying the weatherstripping. |
Useful Links
* POD Assembly (ver 2 (2007): Part 1, 2, 3 , 4 , 5 , 6 , 7 , 8 , 9
* Distilled instructions on POD Assembly (mine)
* Weasner's solution to leakage around pivot area
* YouTube Video: POD Zenith Table quick release bolts
* Opening and operating the POD dome - an example
* Polar aligning a fork mounted scope in a POD and here