The Construction of Our New Observatory!
Fall 2007 - Fall 2008
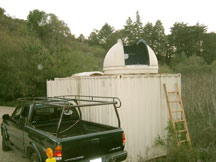
Our steel shipping container - turned-
observatory dome had been the centerpiece of Cabrillo Observatory since first
conceived and brought into being way back in 1995. An all-astronomy club creation,
we were happy with it for years. But the steel rusted out, the door wouldn't
close well because of the flaking layers of rust under the paint; the roof contact
with the "tommy goop" sealer had developed gaps so that every winter
we need to place buckets next to our computers. And it had become a blackwater-stained
eyesore, keeping me from wanting to schedule any public events. It was also
allowing the warm air from the computers and all the people to funnel right
out in front of the Meade 12" through the dome slit, degrading the already
inferior seeing. And finally, it was just too cold. Frozen fingers make for
tough computer operation. It wastime we had a REAL observatory, and I made my
case for the funding.
Our Dean, Wanda, helped tremendously
in securing the funding, and Chuck Mornard's CEM construction class volunteered
to do the work. The combination of student labor on construction, and my free
labor in the take-down and move-in, the total cost required for this new 384
sqft facility is about $26/sqft - microscopic by today's standards. Chuck's
group did outstanding workmanship on our storage building 2 years earlier so
I was confident in the final product.
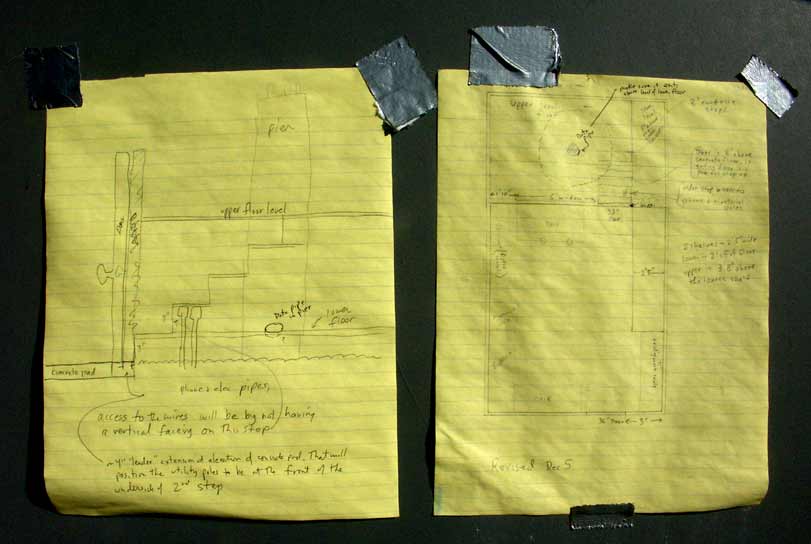
I sketched out our new building.
It was vital having a separate room for the scope and dome, thermally isolated
from the 'warm room' where the students and computers would operate, and a big
window between to allow careful monitoring of the scope's slewing. The warm
room is twice the floor area of the old shed and has a good concrete pad which
holds the heat of the day. There is now the space for a dozen or more to watch
the operation of the telescope and imaging cameras by student operation of the
computers - just like a modern research observatory.
The Take-Down
This was the unpleasant part as far
as I was concerned. I spent 4 full-on weekends pulling out everything, down
to the last electrical conduit. The toughest challenge was the fiberglass HomeDome.
We never considered that the dome might outlast the steel shed back when we
made the thing, and we used tough construction adhesive to secure a weatherproof
seal between dome and steel roof. I tried everything to get the two separated
- hand saws, saws-all with metal blades, saws-all with any/every blade, solvents,
alcohol..., but Jeff Jolin's suggestion was the one that worked; crow-barring
it off. Dangerous, I thought, because the fiberglass can easily shatter and
the bond was very strong. After a full 2 days of very careful labor (and buying
the biggest crowbar in town), I had it off. Then JC and Jeff and I all got the
dome off the roof and put into the storage building. I also salvaged all the
custom shelving I'd made for the scope room. Then I had Azzie's Storage come
out and use their big lift to raise the dome off the existing concrete pier
and haul it away. M&O wanted $2000 to do this - I (with some help from the
astro clubber's below), did it all for free!
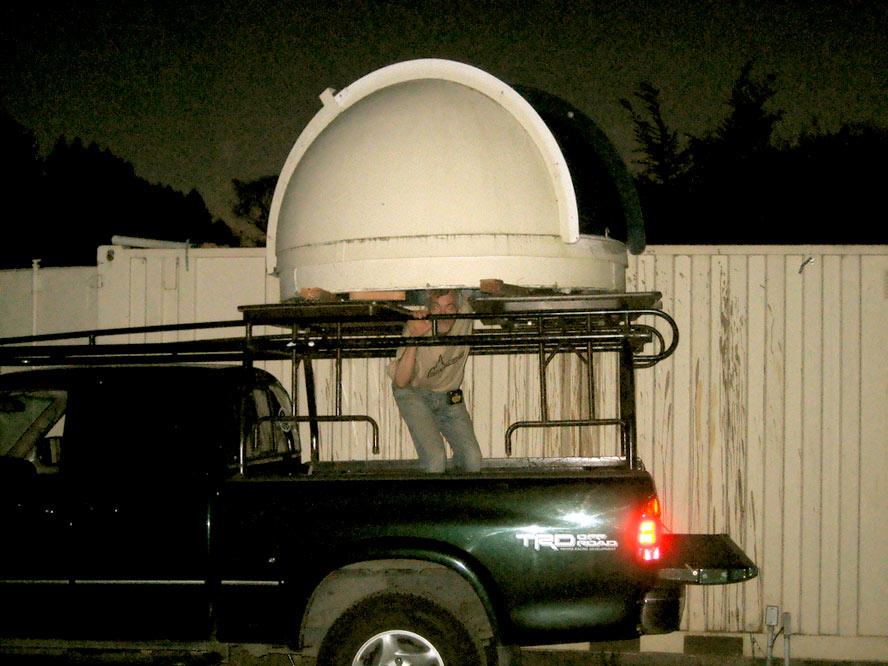
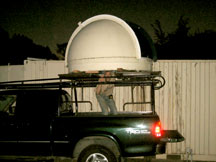
Tue Nov 13 - Dome Move Day. I was looking
forward to seeing that ugly stained siding for the last time
|
I'd screwed 2x4 skids to the dome bottom
|
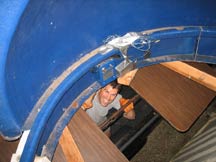
The dome, mid-way through the skid downward
onto Jeff's roof rack. We used the picnic tables' formica tops for smooth
support. JC's having fun, it would seem!
|
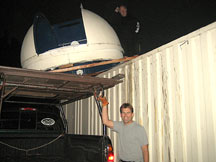
So far, so good.... Jeff (on roof) and JC
- great work, thanks!
|
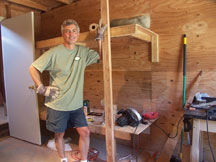
Me - Atlas getting ready to
Shrug? |
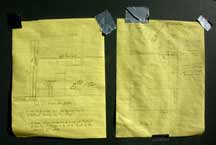
Some of my design sketches, duct-tape'd
up at the construction site
|
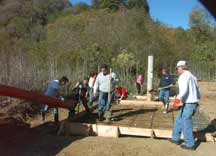
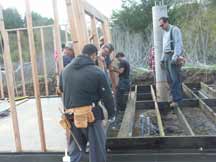
Saturday Dec 1
- Chuck's "Foundations" class digs out the foundation area-to-be.
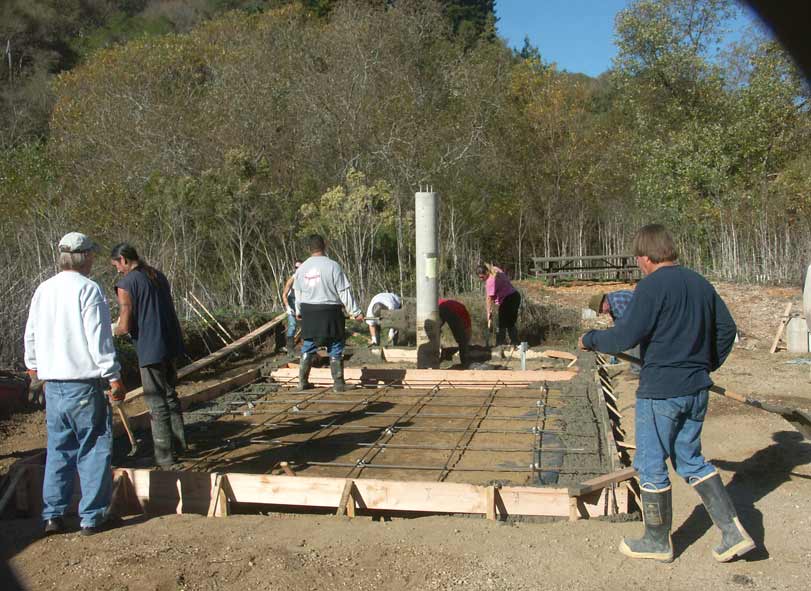
Tuesday Dec 4 - Rebar and forms are put into place. This part
lasted well into the night, under lights.
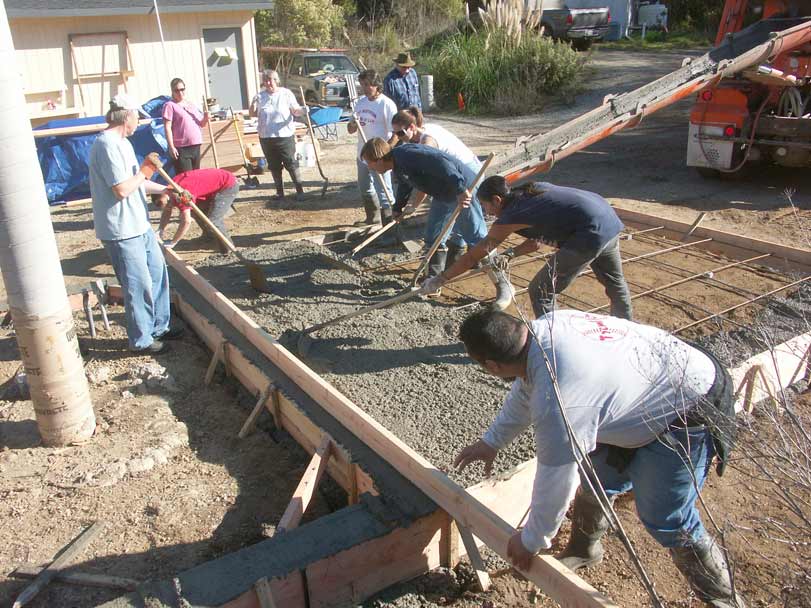
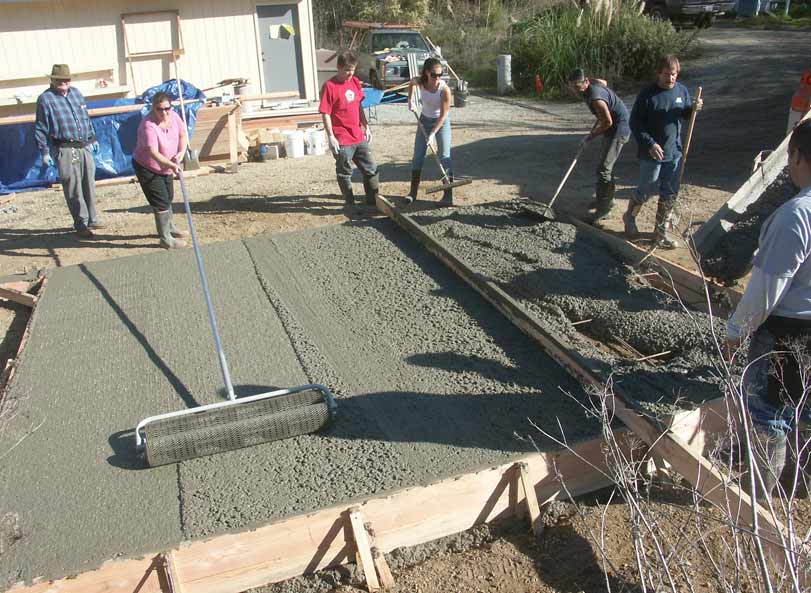
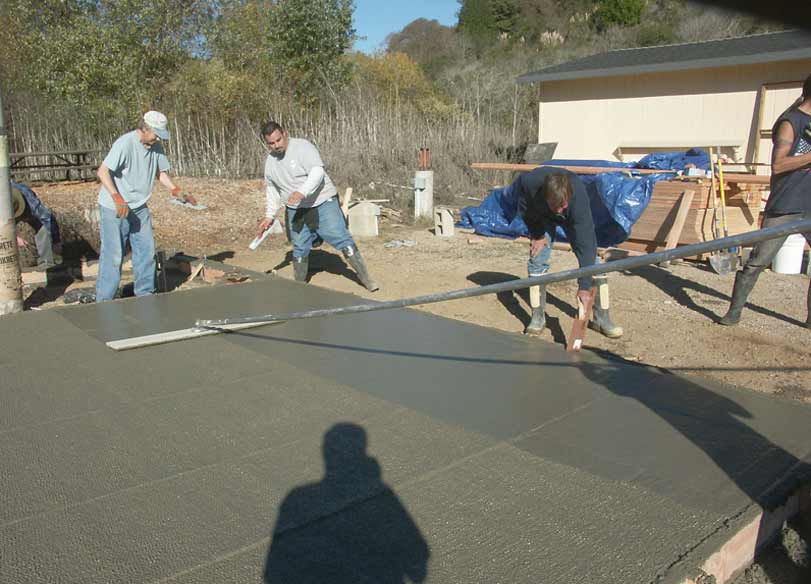
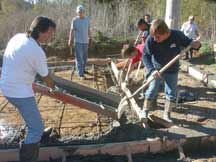
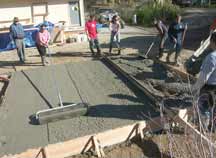
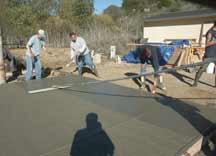
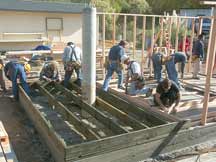
Wednesday Dec 5
- We pour the foundation. Our new Observatory has its first transition from
the realm of pure ideas into concrete mass.

Chuck barks some last minute instructions...
|
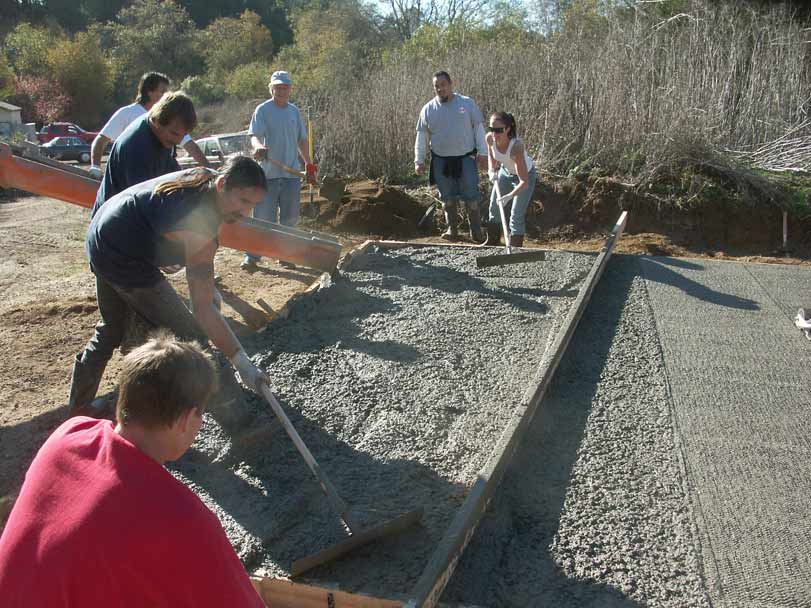
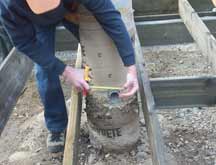
...as the concrete begins to roll on down
the chute
|

Chuck's a pro at the hand signals needed
to fine-tune the positioning for mixer man
|
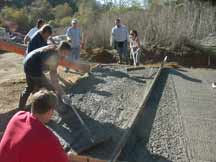
Get the perimeters first...
|
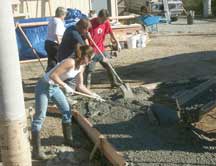
Scraping the excesses towards the holes
takes rippling muscles!
|

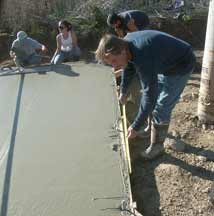
Flattening requires a perfectly straight
board - no bowing or crowning. Meanwhile the concrete's now getting
poured in towards the center
|
A whole orchestra of smoothing tools then
made their appearance, including this roller screen thing
|
Scraping and smoothing, scraping and smoothing
|
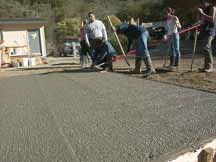
Once the roller has gotten all the gravel
below the surface, it's time for the smoothing boards to take over
|
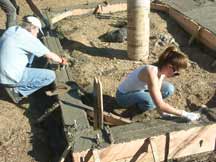
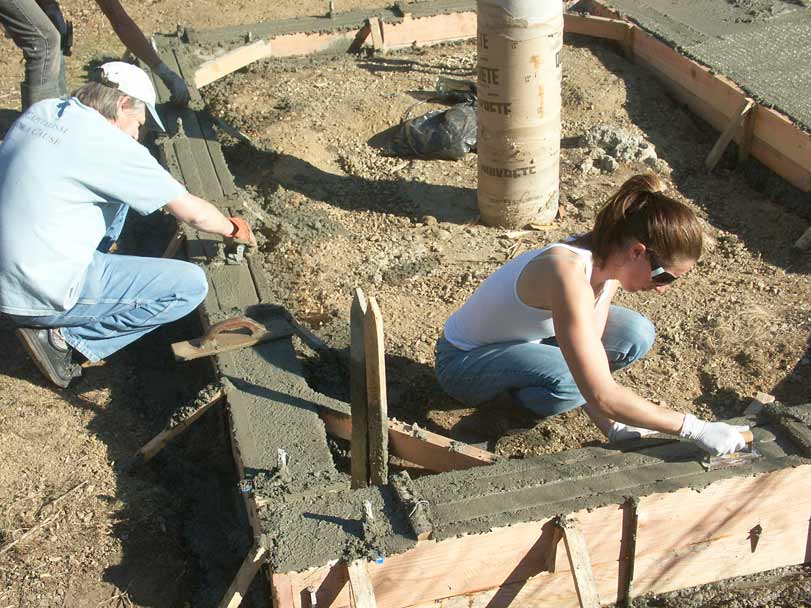
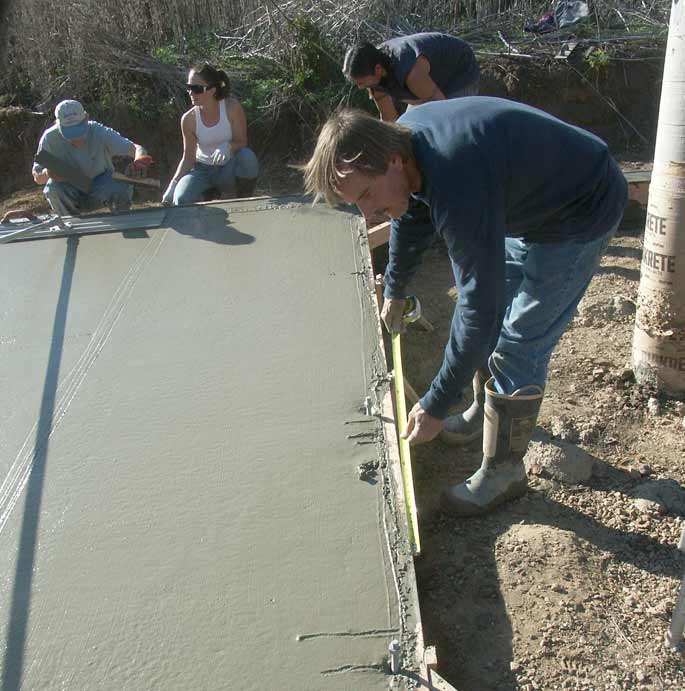
Meanwhile, the perimeter wall around the
scope room is leveled and polished. I wanted only a perimeter wall here
in order to mechanically isolate the pier footing from the concrete
on which we'd be walking around during sensitive imaging. The 7' pier
acts like a vertical beam and walking in the warm room would vibrate
into the star images
|
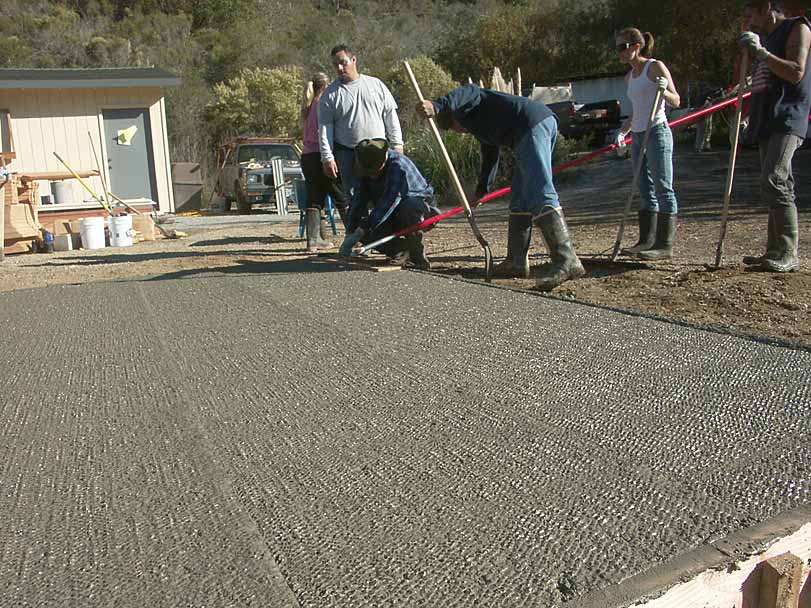
Smoothing board work continued for a very
long time. Concrete pad people take pride in getting it perfect. Even
my little etching of the date in the concrete was hastily smoothed away.
|

Chuck marks where the doors will be, so
no anchor bolts end up in the door frames. A 36x80" door for the
warm room entrance...
|
...and a 32x80" door to the scope room
|
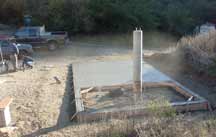
And there she is - our finished foundation!
Chuck timed it perfectly - rain came in on late Thurday and Friday to
mellow the curing and insure no cracks developed. And by Saturday we
were ready to begin framing.
|
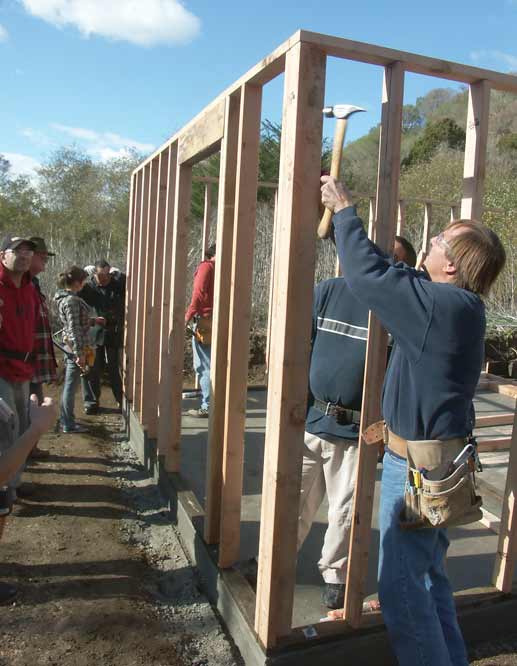
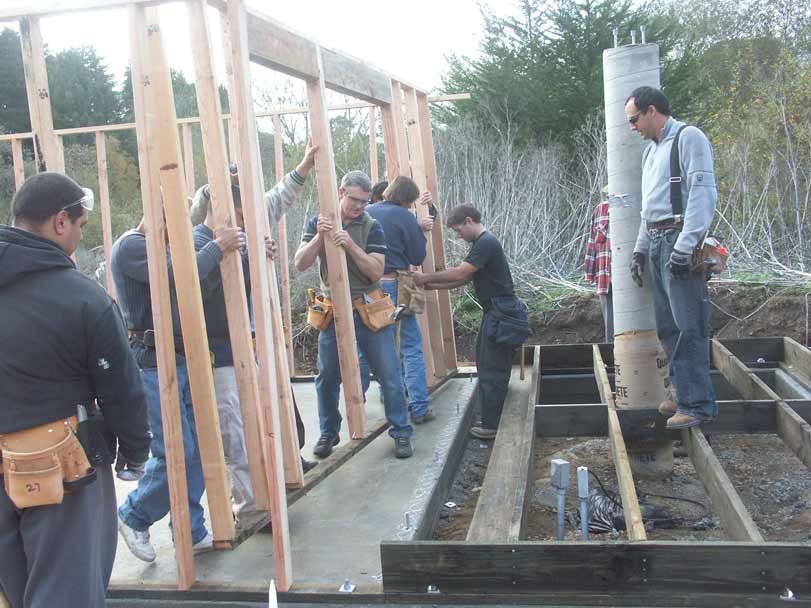
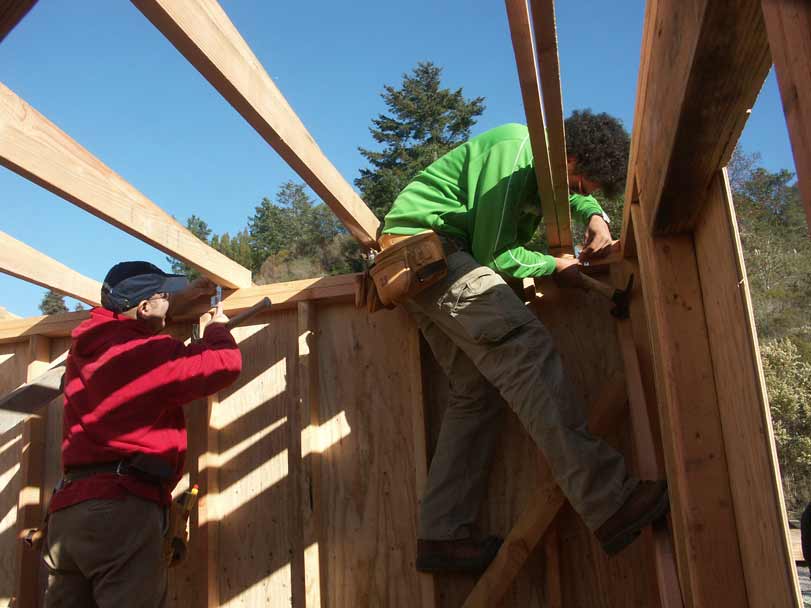
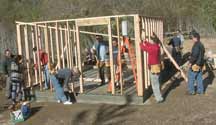
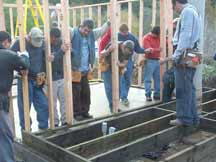
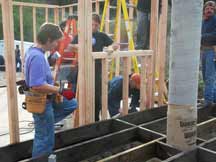
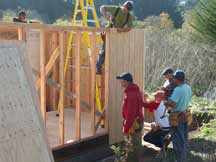
Saturday Dec 8 -
The "Framing" class takes over
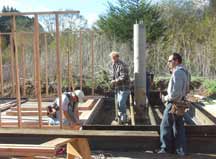
Chuck 86'd the in-class lecture and had
the class come out well before lab time - so I was johnny-come-lately
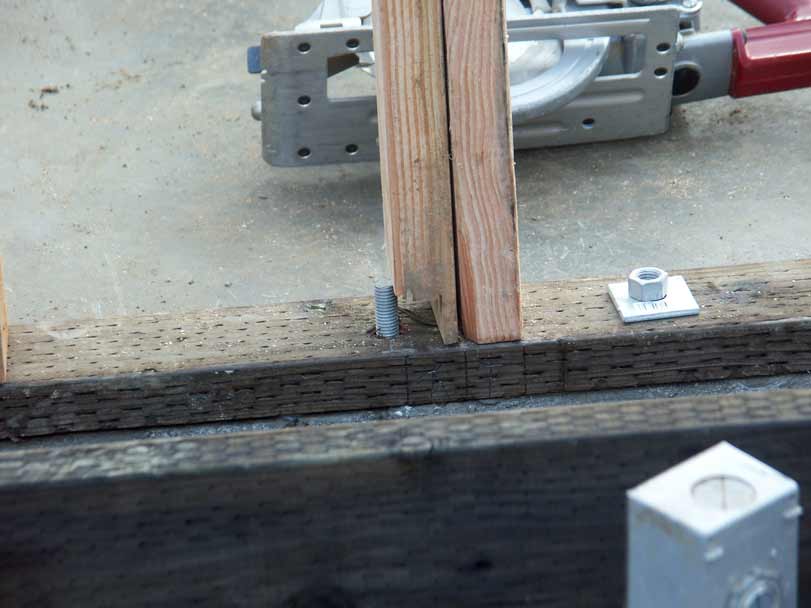
getting my first photo. First, pressure-treated ("greenwood")
timber is secured via the anchor bolts to the concrete floor
|

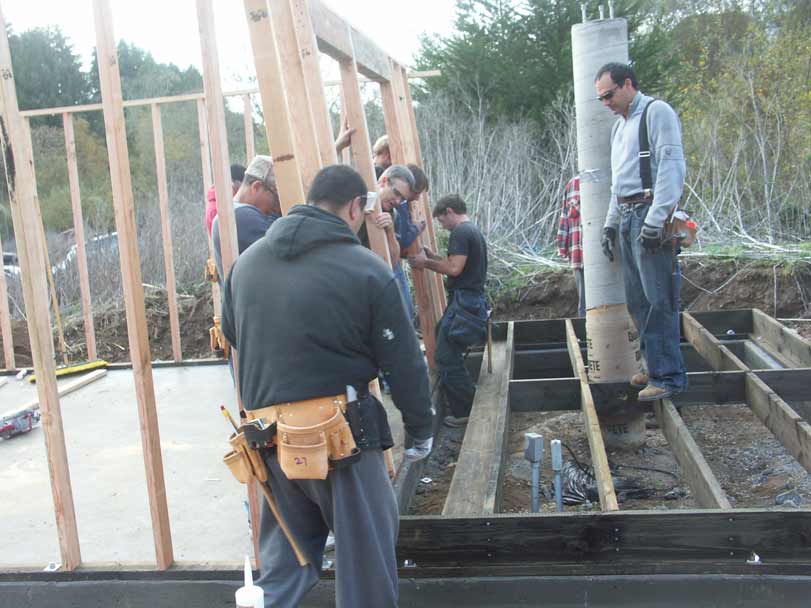
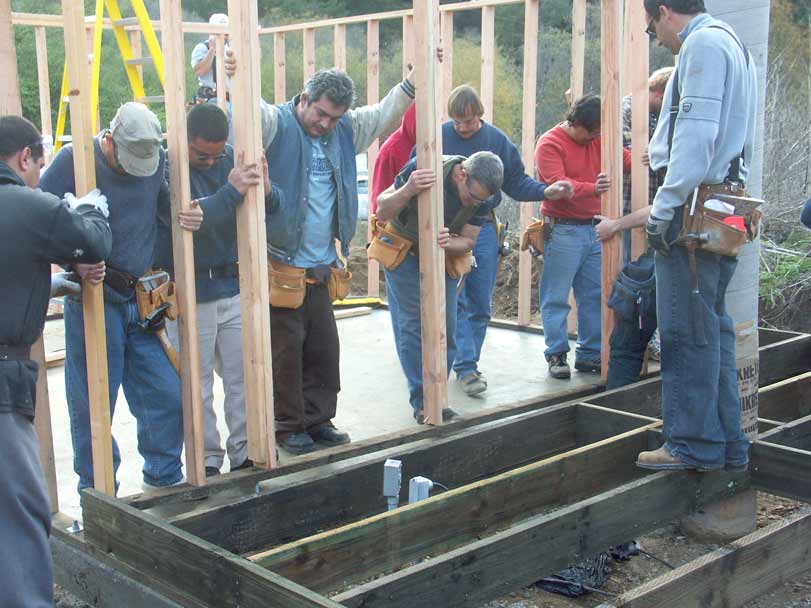
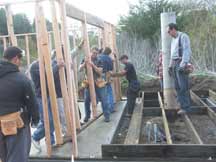
The walls are measured, cut, and assembled
before placing onto the greenwood.
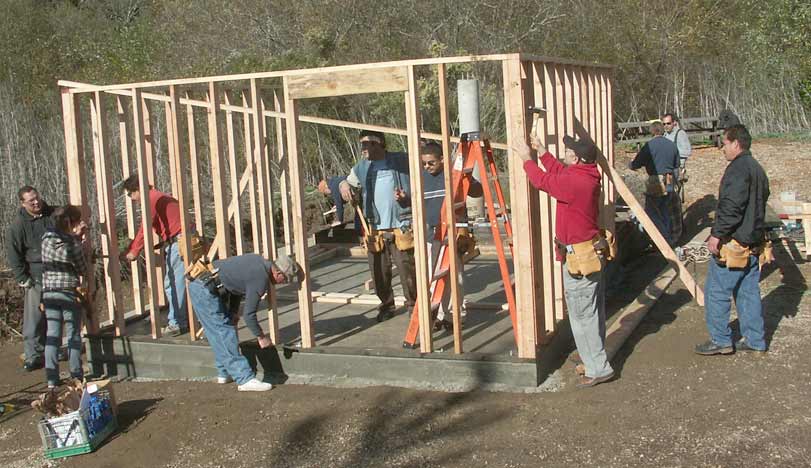
|
...It's coming together
|
The scope room has plenty of cool air space
below, and the flooring joists are all greenwood
|
The pier's data pipe emerges just below
the lower level scope room floor. (It was positioned for the old steel
building, which didn't have the split levels our new building has)
|

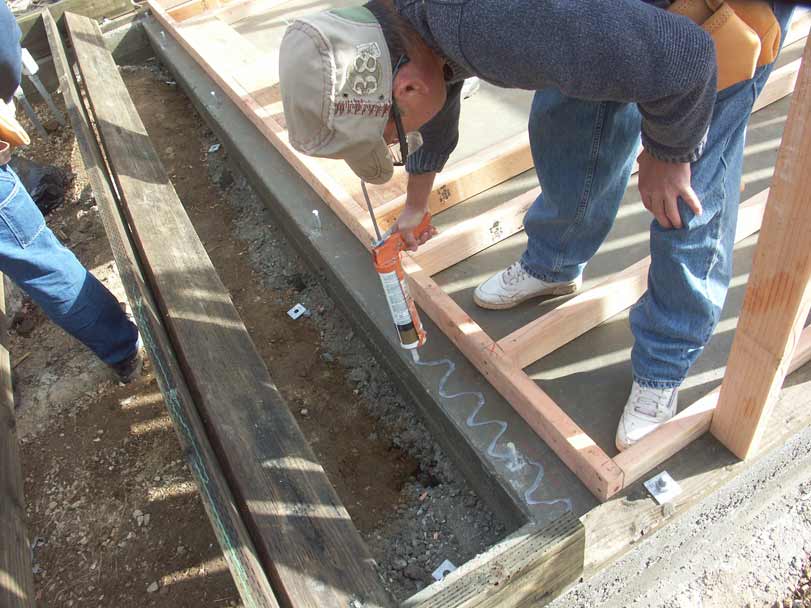
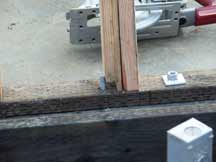
Adhesive makes for a waterproof bond between
the concrete and the interior wall. The 2x4 base was drilled...
|
...to match the anchor bolts seen here.
Will they fit like a glove...?
|
....will they...??
|
Yes!
|
Well, except for this guy. No worries, the
load can be carried down by the adjoining member.
|
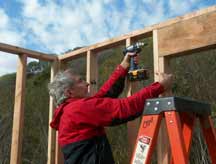
Me, demonstrating my excellent screwing
abilities.
|

The window to the scope will be a standard
6'x3' double-paned insulated window. Because of the dome, the roof load
must be carried to the ground by the interior wall, requiring this thick
frame piece to keep any flexure from the window itself
|
Double 2x4's all the way around will make
for a stiff frame and a protected window. Also notice the hole in the
joist connecting piece where the data pipe emerges from the pier.
|
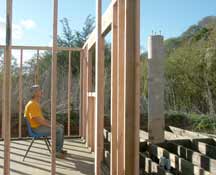
I place myself in the operators position
behind the future desk and "Spock", and verify that the window
will allow visibility to the data cables as the scope slews around the
sky. Looks good! And so ends the first day of framing.
|

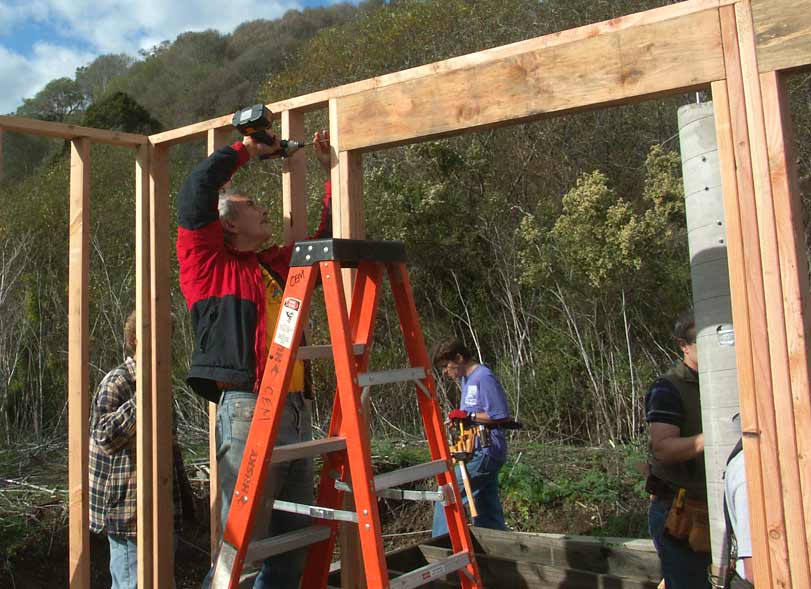
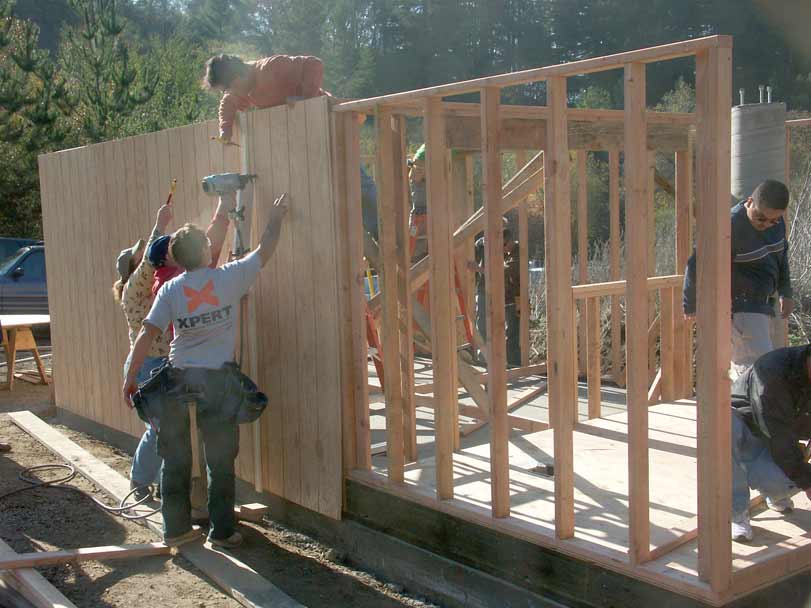
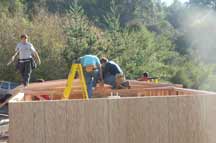
Saturday Dec 15, framing
resumes. The plywood scope room floor goes in first, then the exterior
walls.
|
A "story board" is marked with
the proper spacing for each nail when nailing the walls to the studs.
A big time saver.
|
All right, who's standing on the nail gun
air hose?
|
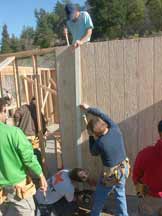
The last wall - the scope room north side.
I got to use the nail gun here. If it shears off in the next 'quake,
blame me!
|
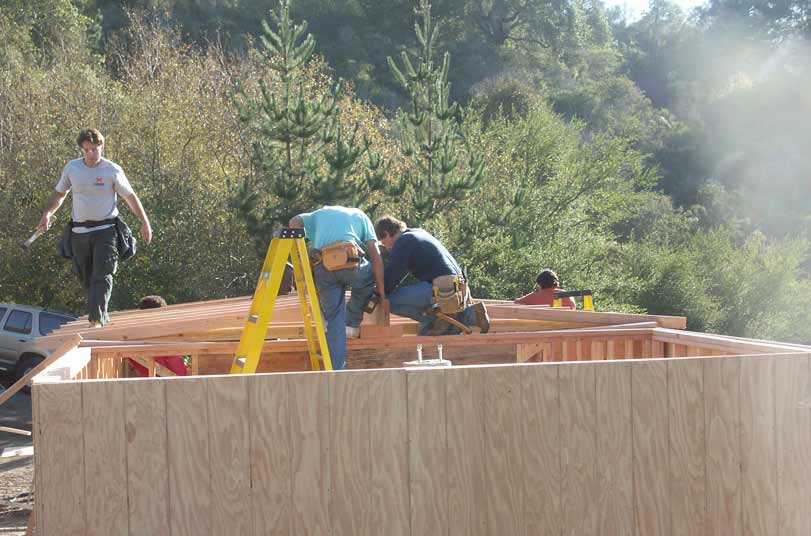
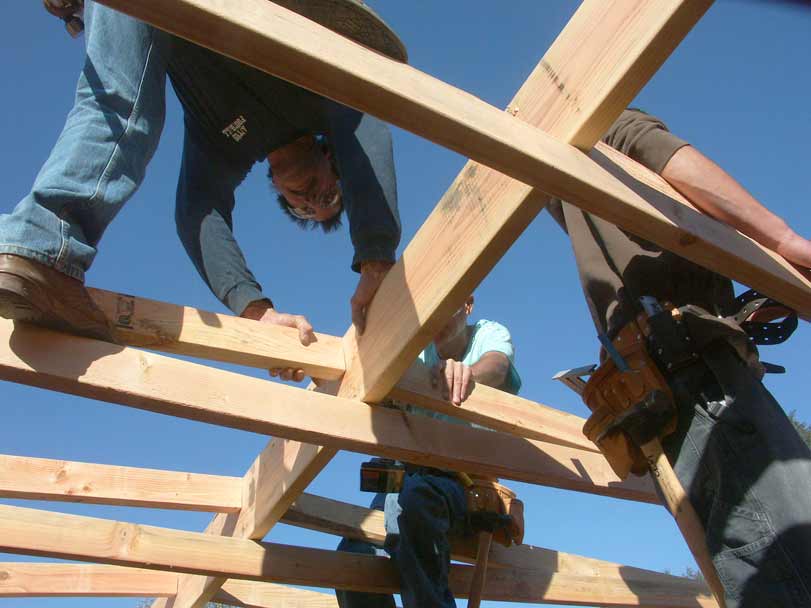
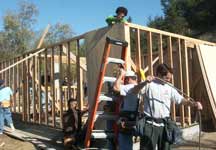
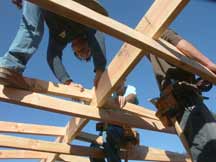
Chuck decided the best compromise between
strength, rain shedding, and un-obstructed viewing out the dome slit,
was to stay with a standard roof but with a 1"x12" spine to
form the very shallow roof pitch
|

Rafter and roof timbers are both secured
to the wall top by metal joiners
|
Chuck - aka "SpiderMan"
|

This is the end of the day, end of the semester.
Rain was predicted for the coming week, so we rainproofed the building.
Next work day is the Wintersession framing classes - mid January.
|
|
|
May 2008.
Then the rains came, and the wintersession
construction never happened. We did get one work day in February - we put on
the dome and the pro roofer came out (forgot camera - doh!). Chuck and his crew
finished their part in mid April and a painter did the outside with 2 coats
of standard Cabrillo color. It's up to me then to finish it. I've spent much
of my spare time in May there, including all of Memorial Day Weekend working.
I've now got the bunk and heavy duty shelf put in, sealed off the open gable
between the rooms, silicone'd the cracks, installed insulation (3" of solid
polystyrene R=15), and installed plywood inner wall in a "jigsaw"
pattern on the separation wall and also on the north wall of the scope room.
Next I'm putting in shelves on the north wall of the scope room, sealing the
window on the "warm room" side, building steps to the raised floor
in the scope room, and sanding the entire wall area. I'll need to buy carpet,
and still hopeful that a student can come through with some extra carpet for
the scope room (otherwise, we reuse the red carpet from the old building). I'm
continuing to spend every spare moment there, until darkness falls. When I've
finished the interior work we'll have our "move in" party with the
astro club. I will need help lugging over the desks, the scope, the metal mount
base, and help installing and getting running the computers and internet. I've
got the phone working; our phone number is the same.
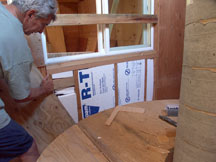
Setting a puzzle piece of plywood over the
newly inserted polystyrene insulation. 3" thickness gives an R=15
value, plus whatever R you get from the plywood. I also carefully silicon
caulked the gaps between the boards separating the "warm room"
and the scope room.
|
The lower shelf will be used
as a 'bunk bed' to allow observing early morning events while saving me
valuable sleep time and ga$ going to/from my downtown home. |
|
|
I worked on the observatory most
free days during the summer. In mid August, I was ready to remove the 12"
LX200 optical tube assembly (OTA) from the fork arms so it could be mounted
on the new G11 mount. This procedure is worth detailing as it may help others,
so I have made a separate page.
In Jan 2010 the 10" LX200 received some work - replacing the motherboard
heat sink. The story is here.
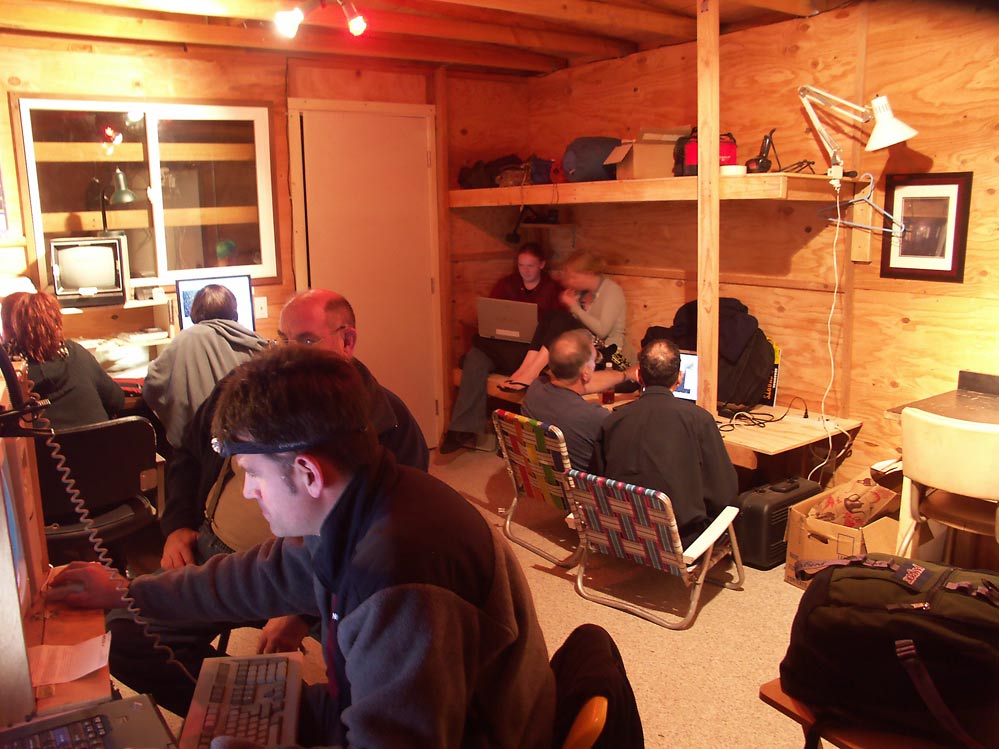
Fall '08
The observatory construction is now
done. During the Fall, I focused on installing and bringing up the computers,
the telescope, the internet, hanging photos from past Astro 9 students, bringing
down the 'fridge from my office so we can make ice bath's for coolant for the
cameras, and generally making it a comfortable and inviting place for astronomy-philes!

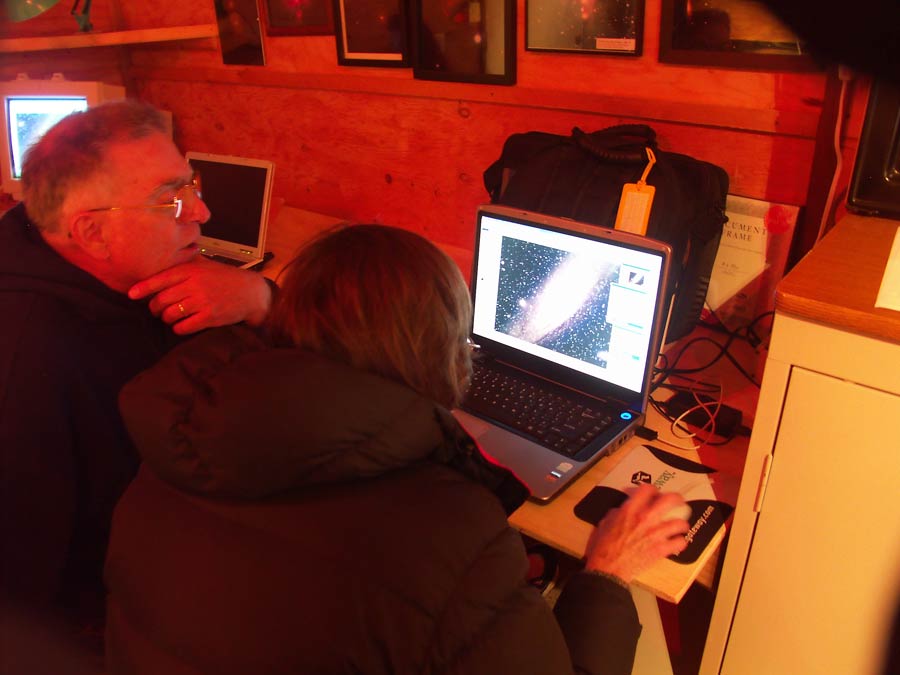
Astro 9'ers settle in at the computers...
|

...to work on their images
|
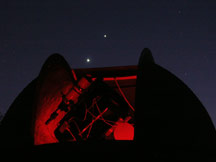
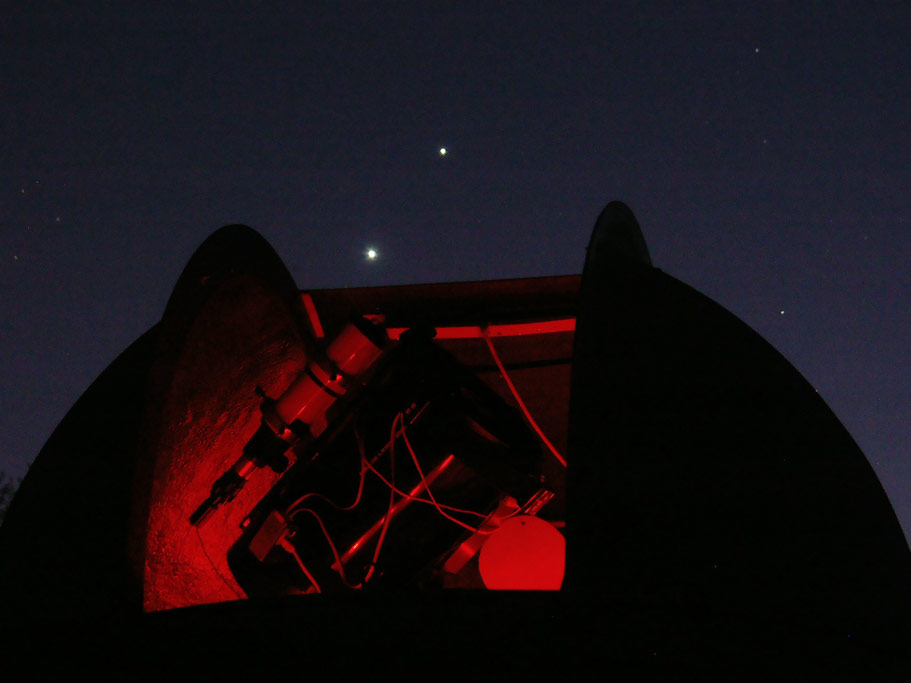
The 12" scope lit by the chili lights,
with Venus and Jupiter setting behind the dome
|
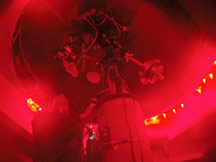
Inside the dome, I'm adjusting the autoguiding
connection to the SBIG ST2000xcm camera
|
Winter '08/'09:
Construction may be done, but software / hardware issues still need to be smoothed
out. We're using a totally different system and frankly, the manuals are TERRIBLE!
The best people always seem to build the hardware, leaving the all-thumbs people
to write the manuals (isn't that a truism we all remember from "Zen and
the Art of Motorcycle Maintainance"?). So anyway, I've spent many more
hours in late Fall and now into January on that aspect. Our software issues
revolve around FocusMax, MaxIm DL, CCDOPS, Starry Night, ECU, and C2A, which
don't quite all get along together. Finding a smooth procedure for opening and
closing which software when, is taking a lot of time. But progress is happening.
As of Jan 17, here's the first two images from the re-born 12" SCT.
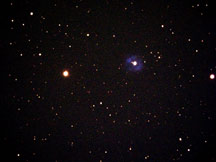
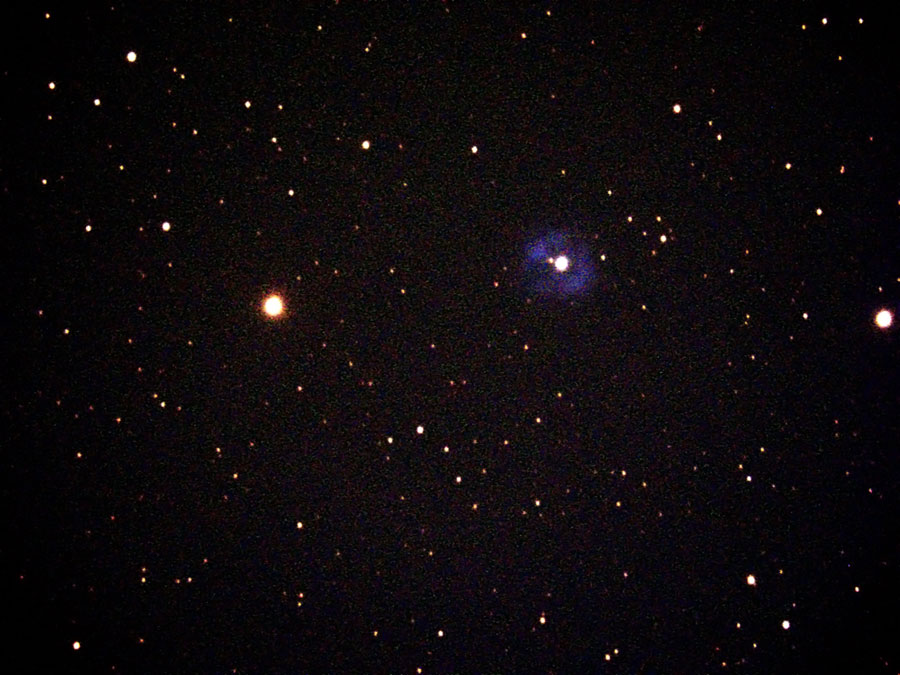
Single 2 minute shot of
NGC 1514, a very dim planetary in Taurus. 4 arcsec seeing, and poor
guiding because of the seeing and mediocre calibration. But, it's a
start! If you go 60 times longer, with a $20,000 rig, at a site with
very good seeing and clarity, and no doubt some comparable artistry
in photoshoping, you get
this
|
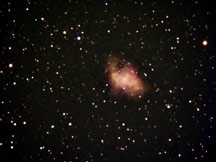
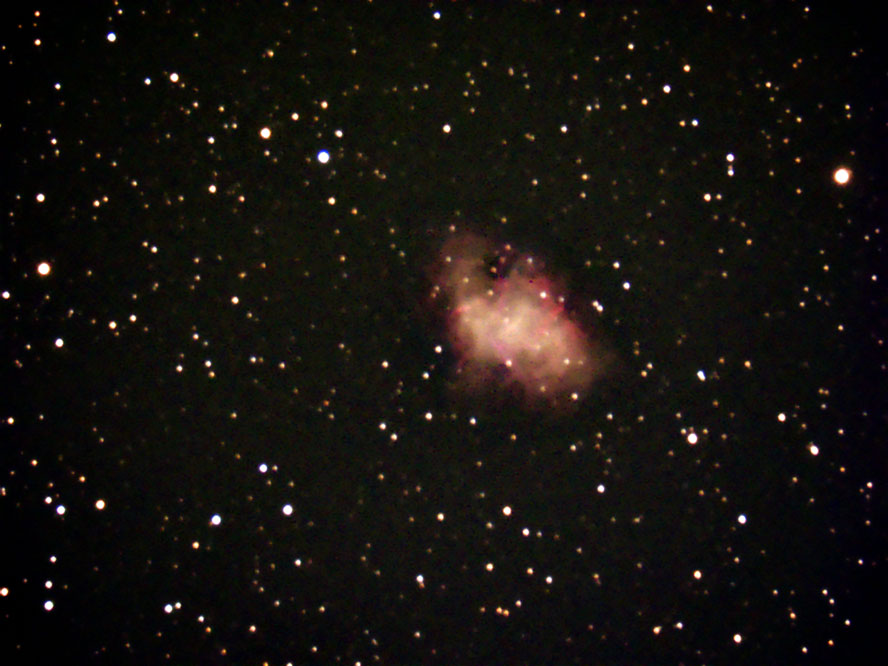
Single 5-min shot of the
Crab Nebula, autoguided with CCDOPS, processed in Photoshop. A half
moon was low in the east, and the Crab was only 27 degrees up in the
west, above the lights of Santa Cruz. Seeing was bad - about 5 arcsec!
|