Removing the LX200 OTA from the Fork Mount

Removing the optical tube assembly from the LX200 forks seems to be a popular thing to do, as amateur astronomers either try and upgrade the components on the fork, or just say goodbye to the fork mount altogether and place the scope on a better mount. I couldn't find a completely adequate source of info on this on the web, so as a public service I'm going to go into full detail on how I accomplished this for our 12" LX200 Classic (bought in 1996).

It's quite possible for one person to do the work, with a bit of planning. Basically, the goal is to loosen one of the two forks. This will relieve the pressure pressing the forks against the OTA. Then, removing the 3 screws on each side of the OTA will free the tube.

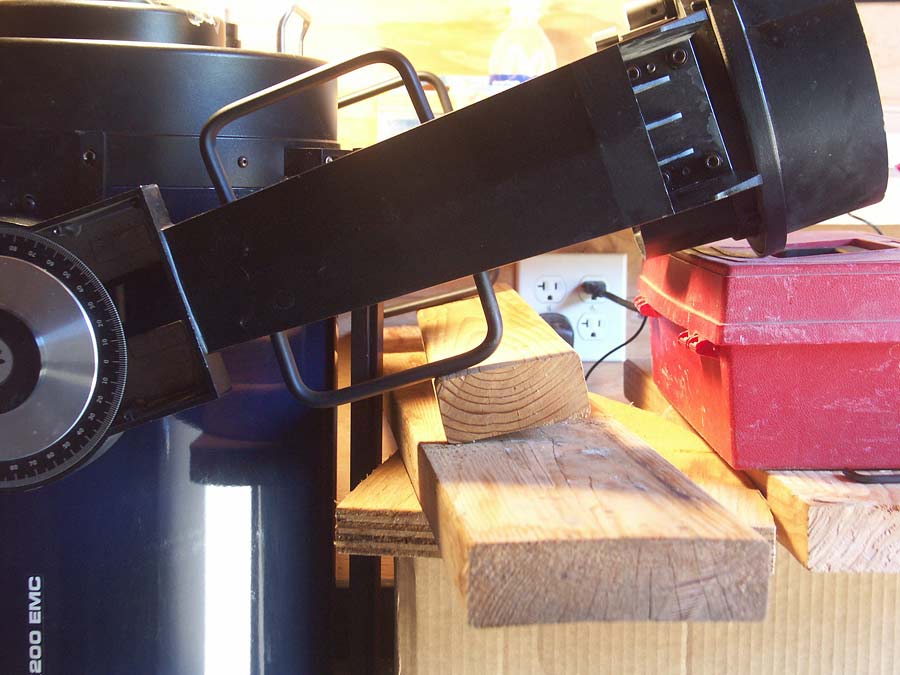
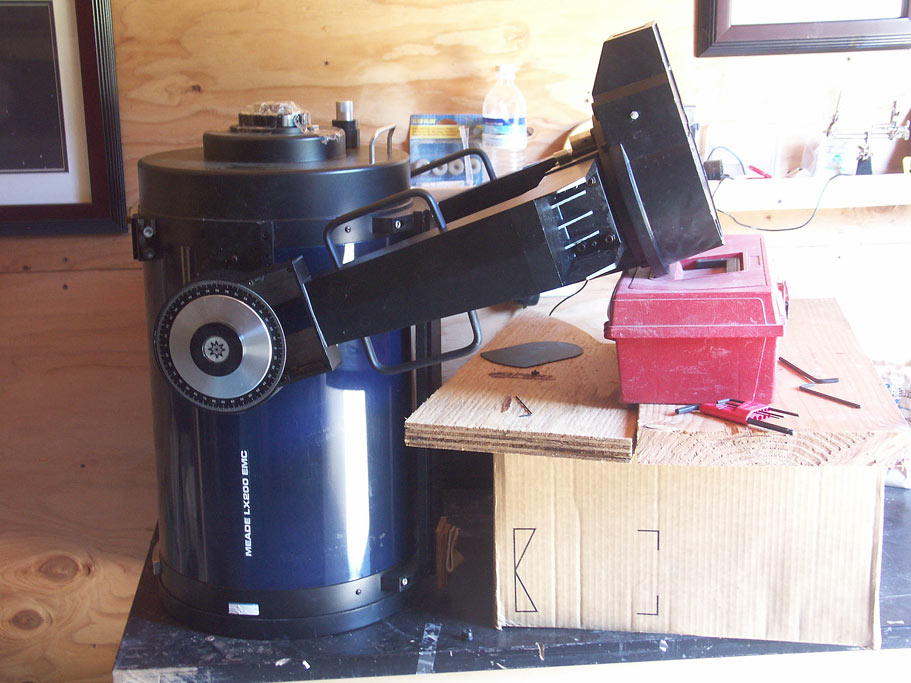
I placed the tube face down, and used a cardboard box and tool box to prop up the mount base. Get the base slightly above the dec axis so you can lift the forks off the tube vertically later on

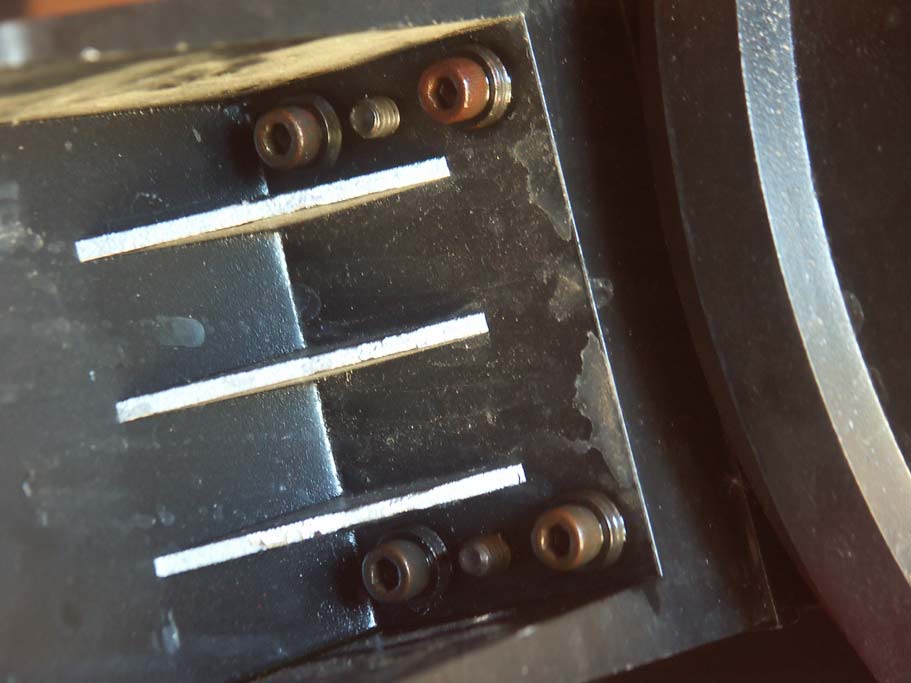
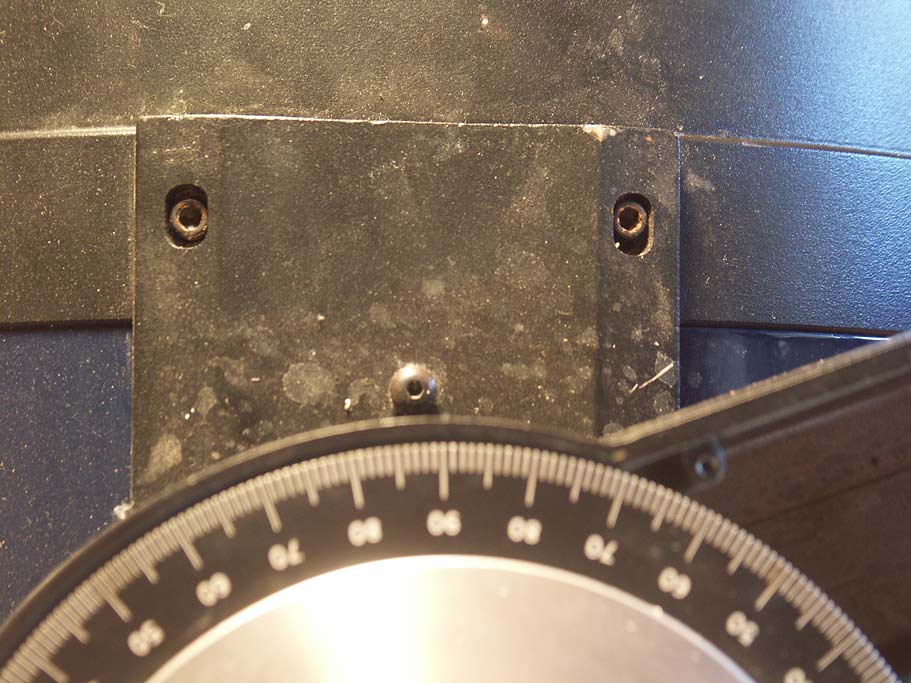
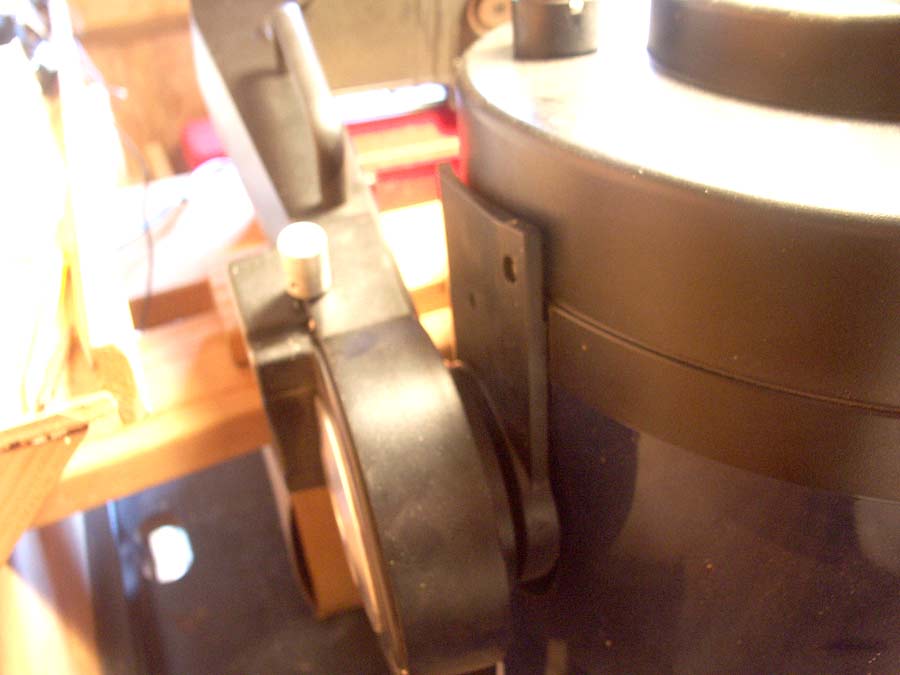
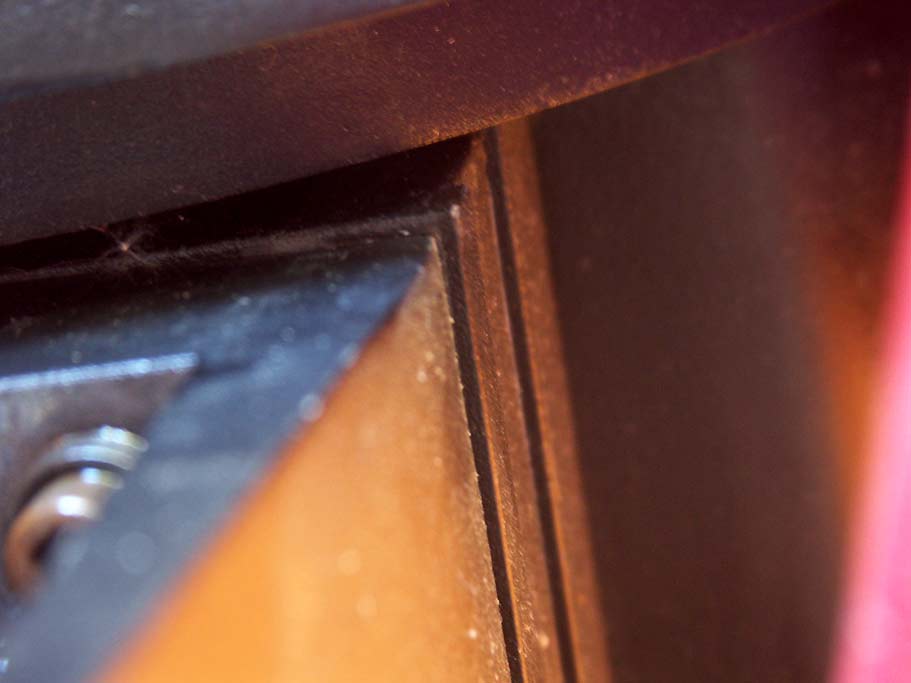
The fork base and the left fork meet here. Note the extra piece between them; that's the spacer that Meade adds to the 12" in order to be able to use the 10" LX200 fork design.

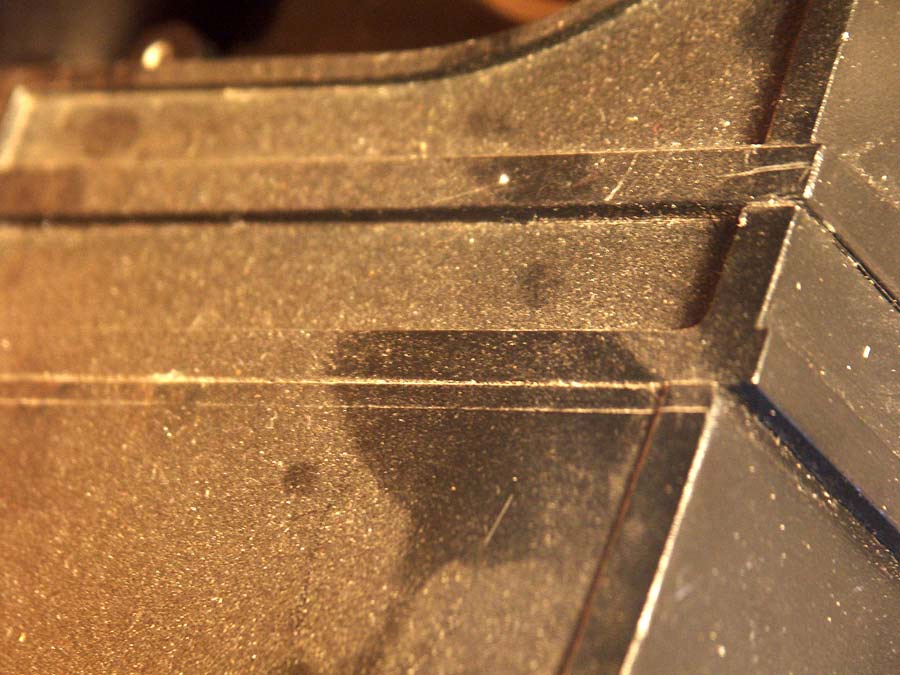
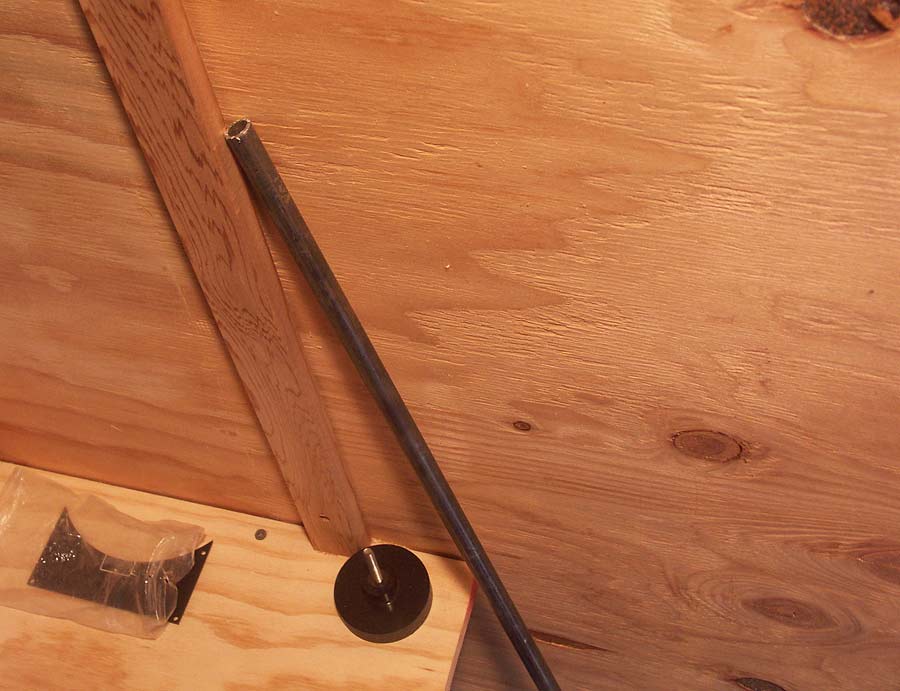
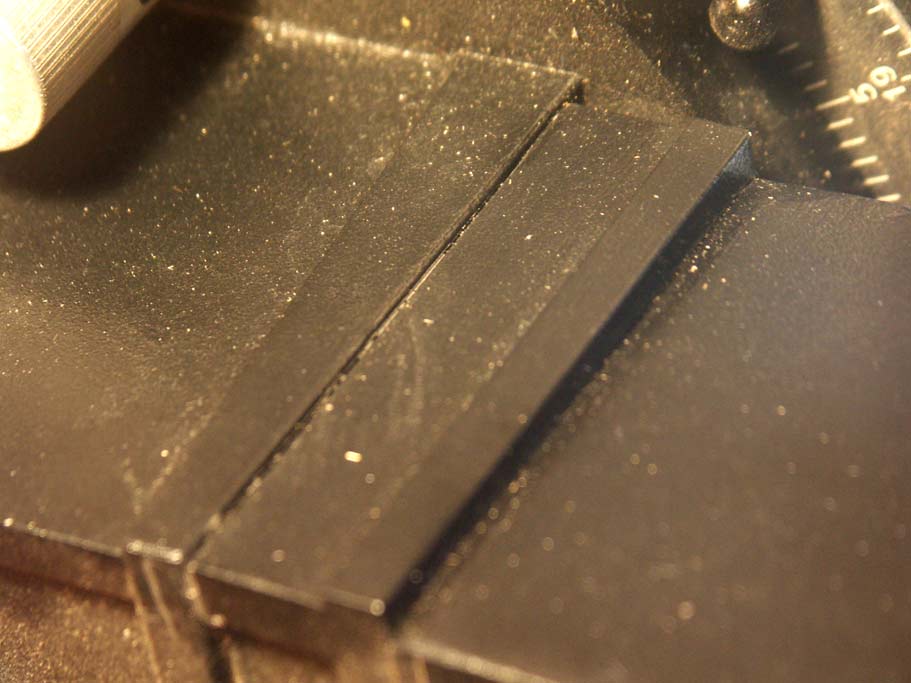
I used a box cutter knife to mark the way the fork and base mate...

...on all sides. The reason is because the bolt holes are elliptical to allow alignment adjustment and so it's very important when you re-tighten the fork that it match the original factory position. If not, pointing accuracy will be affected.

Note on the photo below that there are two extra bolts which enter from the opposite side. This was another worry for me - where did they come from? Would the fork arm really separate if I could not access those backward bolts? According to "Doc" Greiner, these bolts hold the spacer piece which the 12" LX200 needs. They are not to be found on the 10" and smaller forks. The spacer is fixed to the fork by these bolts and so the fork arms will indeed separate and the spacer bolts can be ignored.

Where the forks mate to the RA axle base are 4 hex bolts. Loosen each of these by about 1/4". They're probably lock-tite'd into place. I soaked each in Liquid Wrench for a day first. No heat necessary. Only the left side fork should be loosened (the side which does not have the declination drive).

I applied leverage to the allen wrench by buying this hollow rod at the hardware store with inside diameter just big enough to enclose the allen wrench thickness. Make sure the allen wrench is completely in the hex bolt head or you may strip it. Crank slowly until you hear a loud "pop" as the loc-tite gives way.

Before loosening the bolts, I added more wood to take the fork weight off the OTA

These 3 tiny bolts on each OTA saddle are all that hold the OTA to the forks. Part of my hesitation in starting was in trying to make sure this was really true. The 12" tube is over 40 lb after all. These bolts came out without any need for Liquid Wrench or heat. I removed all 3 from both sides. At that point, the only thing keeping the saddles against the tube was the compression provided by the geometry of the forks.


After loosening the 4 fork arm bolts about 1/4", the contact gave way... shown here. Note the scoring on the base caused by the box cutter knife to enable re-positioning if I want to re-use the fork mount.

The OTA saddles are now free to slip against the tube and I lifted the forks up and off the tube.