Turning your Raw Digital Pictures
into Beautiful Wall-Worthy Masterpieces!
Step-By-Step
Let's take an example of a typical
digital imaging project, using our favorite equipment set-up. Lets see how each
stage changes the your image...
Step 1. Under the Heavens - Getting your Raw Images
I will set up the equipment for you.
The 8" f/4 LXD75 or Megrez 80mm f/6 refractor, and ST2000XCM color CCD
camera is our favored set up.Example, at the Astro
27 - "Field Astronomy at Pinnacles National Monument"
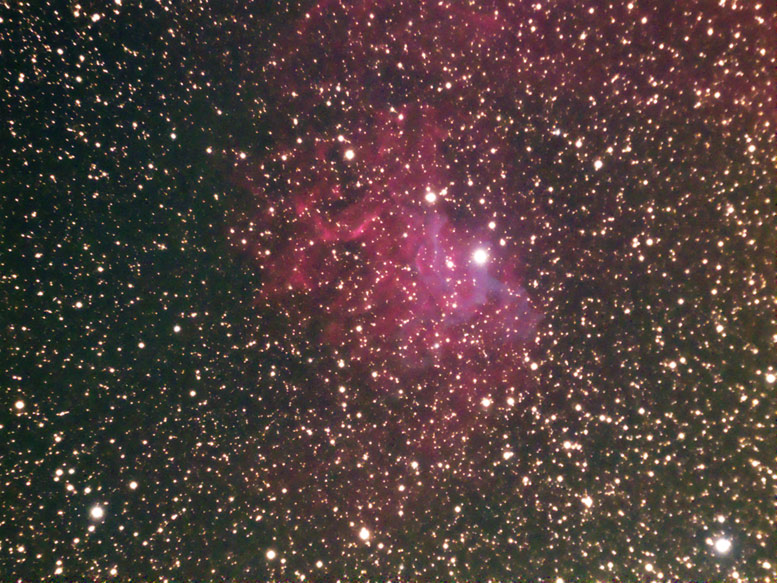
weekend field class Sept 23, '06, I stayed up afterhours and took a series of
images of the AE Auriga nebulae region. AE Aurigae is an eclipsing binary and
is in a star formation region which includes both red Hydrogen-alpha emission
and also blue dust reflection nebulosity, making it one of the most beautifully
colorful subjects in the sky. It's notoriously difficult to photograph however
since it's very faint. It requires very dark skies and lots of exposure time.
Our standard procedure is to take a seris of 5 minute long exposures, and then
stack them together. Why 5 minutes? Because Windows XP, in it's infinitesimal
wisdom, will bonk and give you it's infuriating "Windows must close this
application. Would like to send a message to Microsoft"? pop-up and it
does it AFTER you've invested your full exposure time. If this were to happen
after an hour-long exposure, you would be VERY upset! 5 minutes, I can resign
myself to once a night or so. Also, you never know what other tragedies will
befall your exposure - an errant airplane with flashing lights, a piece of floating
space junk, an on-coming car with headlights, a careless student flashlight,
a gust of wind... So it's good practice - 5 minutes per shot.
The first stages of reduction you
can do in the lab, or if you want, you can do them at home. The software needed
is
CCDOPS which is available for free download from the Santa Barbara
Instrument Group website, and Registax,
also available for free.
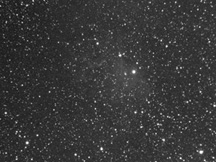
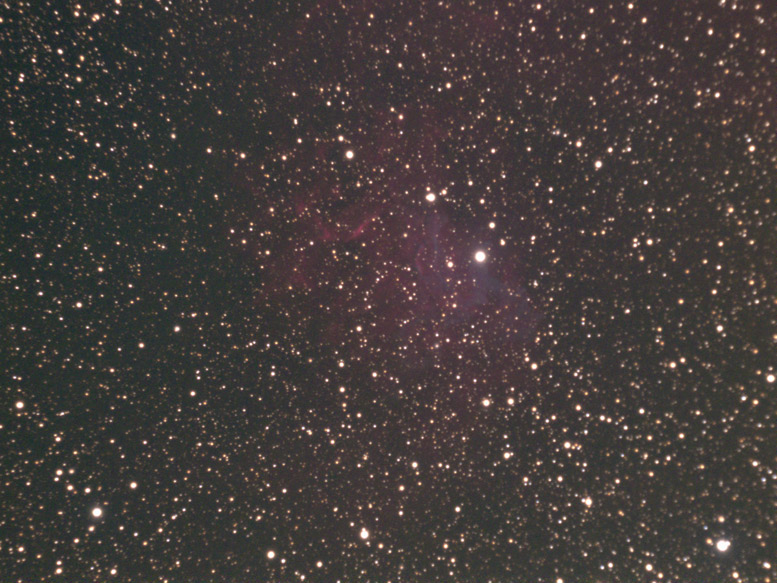
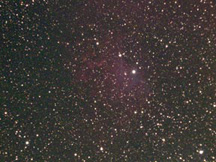
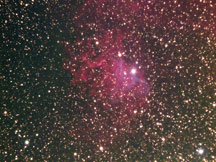
...It'll look like this when
first presented at the conclusion of your 5 minute picture.
|
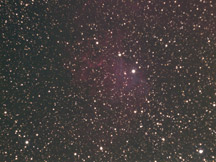
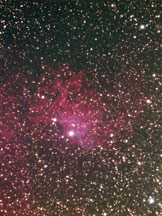
In CCDOPS, I subtract the
relevant dark frame and apply a flat field, then click on single
shot color process and use the sRGB + gamma
option. This best preserves the wide dynamic range in a nebula picture.
My image now shows color. The ST2000XCM is a 1600x1200 pixel camera
which uses a filter mask so each 2x2 pixel array has 2 green+red+blue
filters over the pixel array. This color image thus has half the original
resolution. CCDOPS then does an interpolation on the colors of the original
pixels to get a 1600x1200 color image. CCDOPS outputs as an 8-bit image
(wish it would output 16 bits but it won't), which I save as a .TIF
file
|
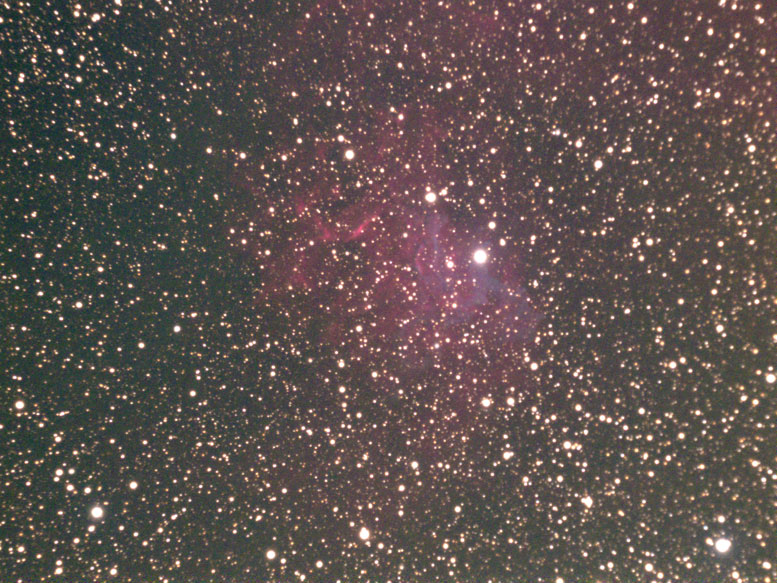
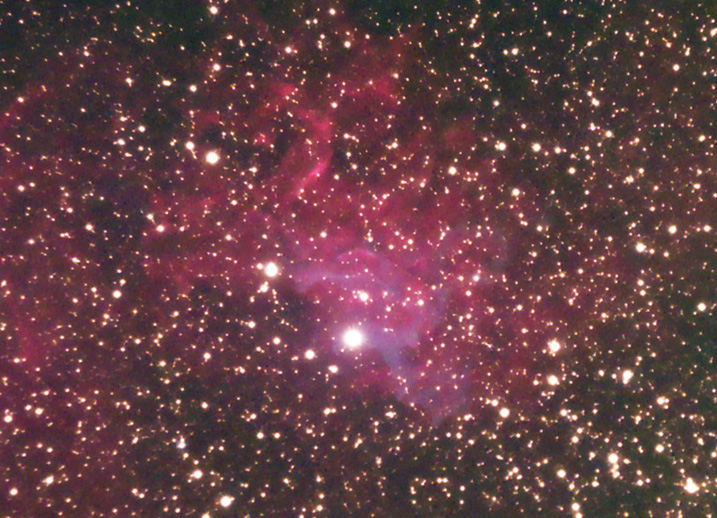
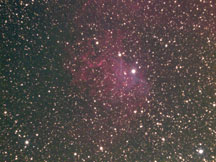
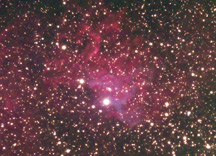
For this subject,
I took 14 5-minute images one after the other. Dark subtracting, flat
fielding, and single-shot color processsing each. Then in Registax I stacked
all frames on top of each other. This gives you the equivalent of a single
70 minute exposure. It may look no brighter, but that's because of the
automatic brightness scaling here. We'll fix that. The point is, this
16bit image now has only 1/sqrt(14) or about 27% as much pixel to pixel
noise as the 5-minute frames. So called "shot noise" is like
this. Each quadrupling of the exposure length cuts the noise in half.
You'll get to a point of diminishing returns after an hour or so, unless
you have the patience of Ghandi that is. |
Now, you're ready to start your artistic
work - polishing up your nugget to produce a masterpiece! This I do in Photoshop
CS2. Photoshop is, of course, a vast program which requires large investments
in time to master. You can take multiple college courses and still not tap the
potential of this software. We have it loaded onto the computers in the astronomy
lab room. We'll use just some of the most obvious features, and for more sophisticated
touches we'll use a neat set of macros (called "actions" in Photoshop
lingo) developed by Noel Carboni specially for astronomical images (highlighted
recently in Sky and Telescope Magazine) - Astronomy
Tools v. 1.4.

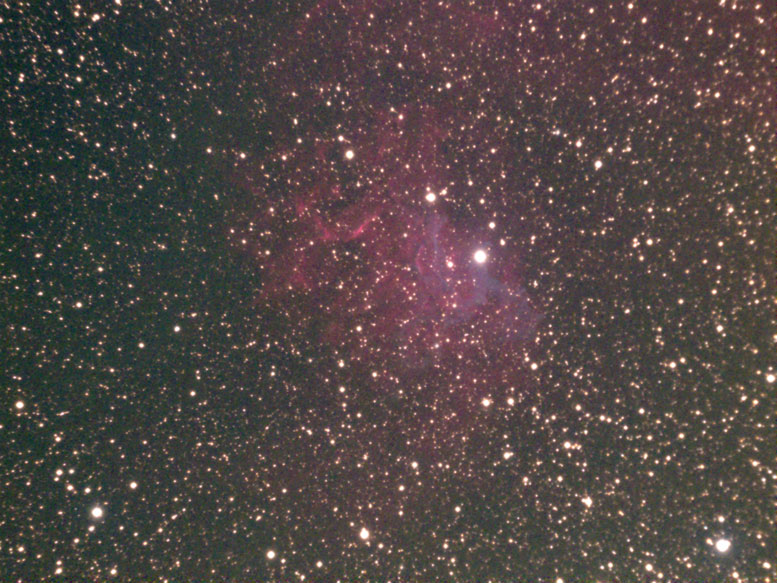
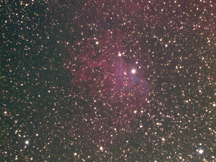
First, I'll adjust "levels"
to get a more workable image. "levels" sets what will be considered
black and what will be considered max'ed out white on your image. Image
| Adjustments | Levels, and you'll see a histogram which
looks more or less like a mountain or perhaps a series of mountains.
Move the left triangle rightward and the rightmost triangle leftward
until your nebula brightens enough to work with. You don't want to have
your image lying near the bottom of your range of values so you're essentially
confining your output brightness range to a similar range on the input
image. Now our nebula has brightened up and we can see what we're working
with.
|
At this point, raise the
magnification to around 200x (lower left corner) so you can really see
what's happening. Stars are always too bloated in my opinion. Maybe
because our camera isn't a $10,000 model with a bazillion megapixels,
as seems to be the standard for those who get published? Maybe because
CCDOPS outputs only an 8-bit color image to begin with and so we don't
get the dynamic range to accomodate the stellar profiles? For this shot,
I apply an AstroTools action. Right side menus, click on
"actions" tab and find "make stars smaller",
4 times in succession is about all you can get away with before artifacts
get too obtrusive.
|
The previous step introduced
small scale blotchiness in the dark sky and the nebula. I'll deal with
this by applying the Astro Tools action "space noise
reduction". This reduces noise in the intermediate
brightness sky. (There's also "deep space noise reduction" which
didn't seem to help on this particular image). |

Now that we've
fixed up the sky, let's do one more sharpening pass. Filter
| Sharpen | Unsharp Mask (68%). |

Now we're done with the sky,
the stars, and the nebulosity detailing. Let's bring up the nebula.
Image | Adjustments | Curves. Curves is a more versatile
way (compared to "Levels") of defining the transfer function
between the input levels and the output levels. Here I used just two
set points on the curve, making an "s" to raise the contrast
and lower the sky brightness.
|
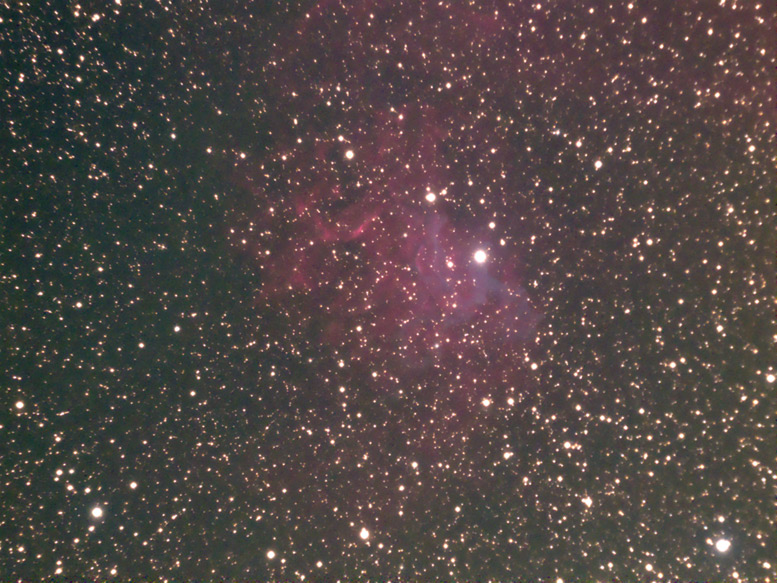
One more adjustment - let's
pump up the color a bit. It helps bring out the always subtle coloring
of stars, and with a red + blue nebula like this, adds some drama to
the contrast. You can easily overdo this step if you have an H-alpha
emission nebula alone. Don't make it garish! Image | Adjustments
| Hue & Saturation and adjust saturation only - I
did +5 here. It's immoral to adjust the hue of a nebula!
|
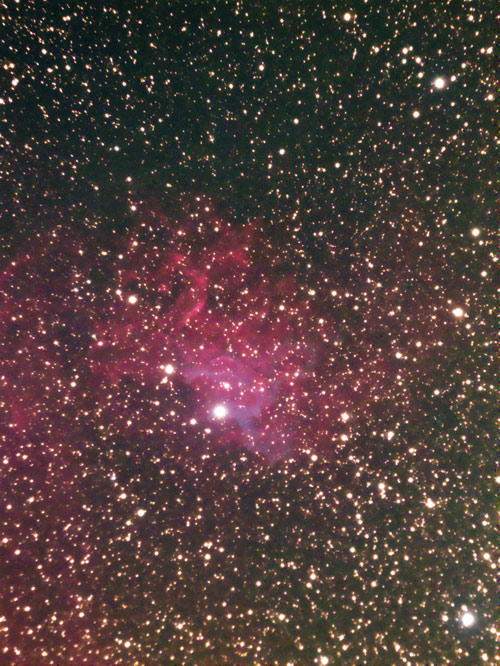
We're almost done. Now we
just have to fiddle with the artistic composition. You should ideally
do this when you're taking the shot, but sometimes it's too time consuming
to twist and refocus and twist and refocus... I feel this shot works
better tilted over. Image | Rotate Canvas | 90CW.
Then, as a right-hander, I prefer to flip the image left-to-right so
Image | Rotate Canvas | Flip Canvas Horizontal
|
Now lets crop
it to the proper aspect ratio and composition. On the left palette, select
the rectangular marquee tool at the extreme upper left, frame your final
image, then Image | Crop.. You'll probably have
to go back and forth several times until you're happy. Remember, you can
click on any step in the "history" tab and right-click "delete"
to undo steps. |
Be sure to click on the final image
to see it in all it's glory! As a final step for each of these web-published
versions you see above, I click Image | Size and set
the long dimension to 777 pixels (about right for 1024x768 viewer's computer
monitors), then File | Save for Web and make sure
the resolution is 72 per inch and adjust the quality until the size is a little
under 200K, to not take up too much download bandwidth. If instead you want
to get a large print, you'll want to preserve the full resolution .TIF
file and bring it to e.g. Bay Photo Lab down the street.
One more Photoshop CS2 option to
experiment with; CS2 can take several images of different exposure length and
stack them to get a single photo which shows the full dynamic range of the array
of original images. It's called the HDR (high dynamic range) option. For many
faint astronomical images this will not come into play, but for some - I'm thinking
in particular of the Orion Nebula - it's an essential step. Here's
is a web page I found which describes the steps.
Overprocessing
It's possible to over-process an image and turn noise into apparently genuine detail. That's why you should only apply the Astronomy Tools Photoshop actions once or twice at the most, and go easy on sharpening! Here's a good article on the problem.